ML/AI
Storytelling
Make an animated short w/ MidJourney and ChatGPT

Ammaar
•
Feb 17, 2023
With this guide, I’m going to show you how you can easily make your own.
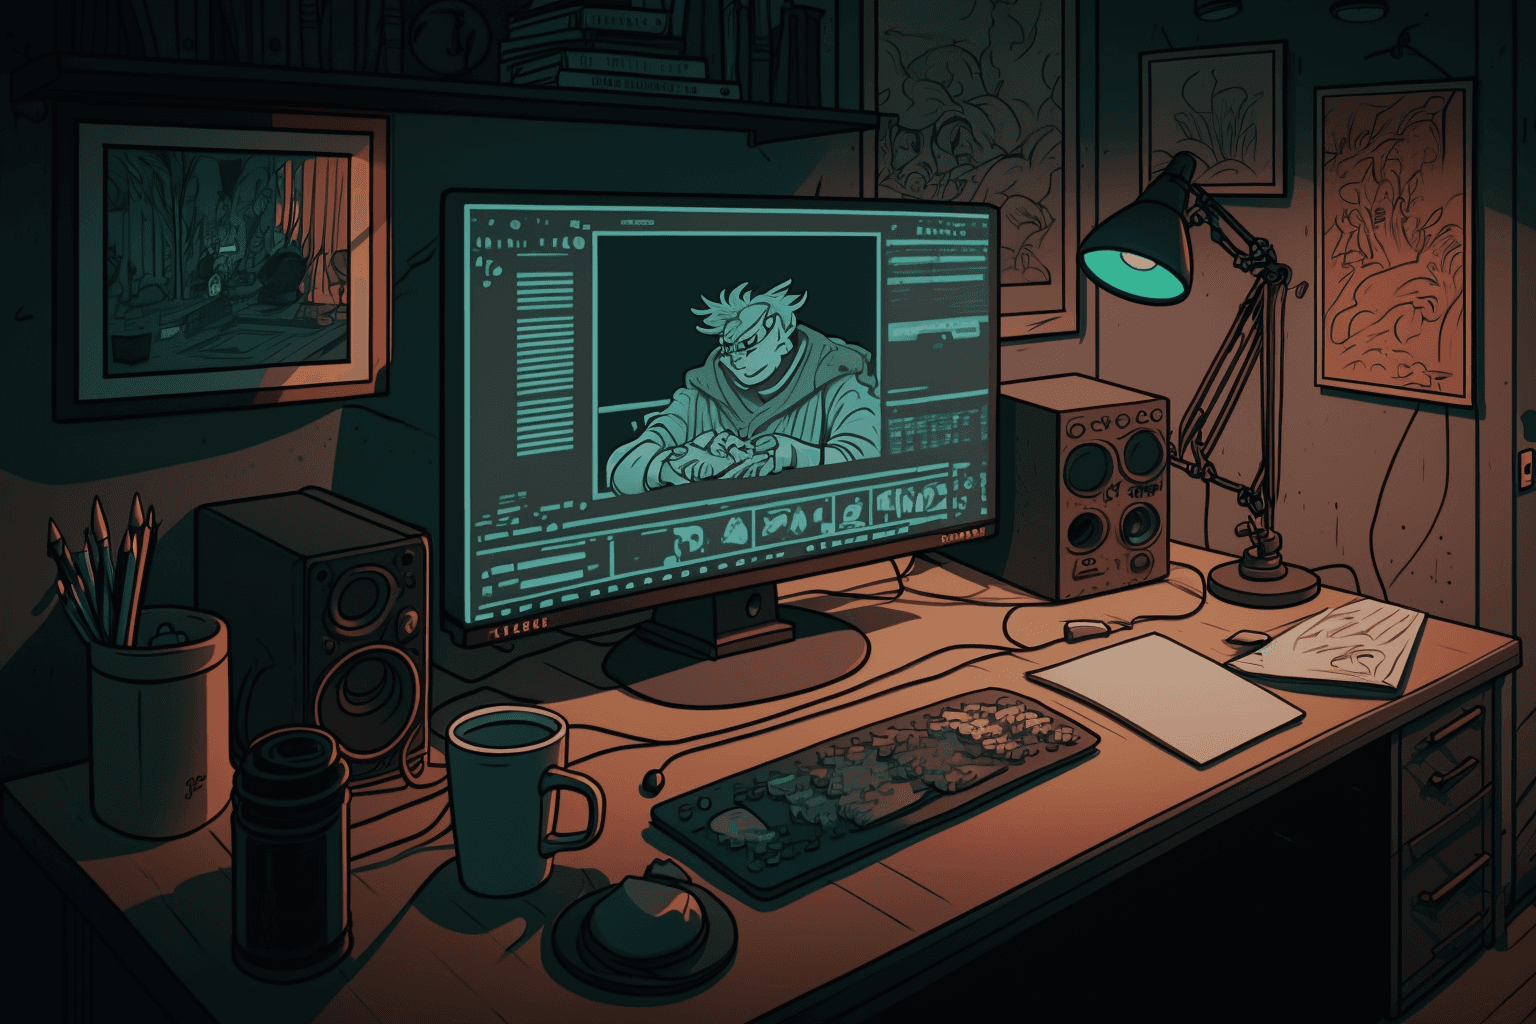
I’m not a film maker, and I’ve never written scripts. I just have a vivid imagination. One day, I was scrolling twitter and saw that someone else had made an animated short scene using Midjourney.
I set aside 6 hours on a weekend to figure out how they did it so that I could too.
There I was furiously going at it, while my roommate sitting beside me on his own computer, kept looking over wondering what the hell I was up to. He happened to be the first one to screen the creation.
His reaction was enough to tell me this was ready to share with the world. I tweeted it out shortly after.
I’m going to show you how to bring any stories that you can dream of to life.
These were my steps - which I’ll elaborate on in each section below.
Picking an idea to double down with
Using ChatGPT to create a compelling script
Visualizing your script
Using MidJourney to create your scenes
Cleaning up MidJourney generations to get quality results using Pixelmator
Bringing your short to life with animation using MotionLeap
Adding narration, picking out music, and cleaning up audio using Adobe’s AI tools
Putting it all together
Btw, shipping your own animated short sets you up to join 1000s of other builders for a 6-week sprint called Nights & Weekends. You'll get tons of support and feedback to turn any idea into a product or company.
All you gotta do is apply here.
It starts with an idea
Start with an idea! This idea will inform the rest of the process: the script you’ll make, the images that you’ll need and the style you’ll try to achieve.
The more personal it is to you—the easier it will be for you to pick out assets that express that idea. It could be a dream you’ve had, a beloved character you want to tell your own story about, or a precious memory you want to bring to life again.
So, I ultimately went with Batman. I loved Matt Reeves’ The Batman, and how much depth Paul Dano’s Riddler had. I also loved that he was never sure if Batman was Bruce Wayne, and I wanted to riff off of that part of the story: The Riddler has finally figured it out.
Batman’s biggest secret is slowly revealed by a villain who is known for creating suspense and tension through the way he cryptically expresses himself.

But… is ChatGPT capable of embodying this menacing persona? Well, now that we had our idea, it was time to generate the script and find out.
P.S. if you can’t come up with an idea though… you could probably just ask ChatGPT and brainstorm till you land on something you like 😂.
Turn that idea into a script
To begin, you’ll need an OpenAI account which can be made at chat.openai.com for free. Once you’ve finished signing up, it’s time to start riffing on a script!
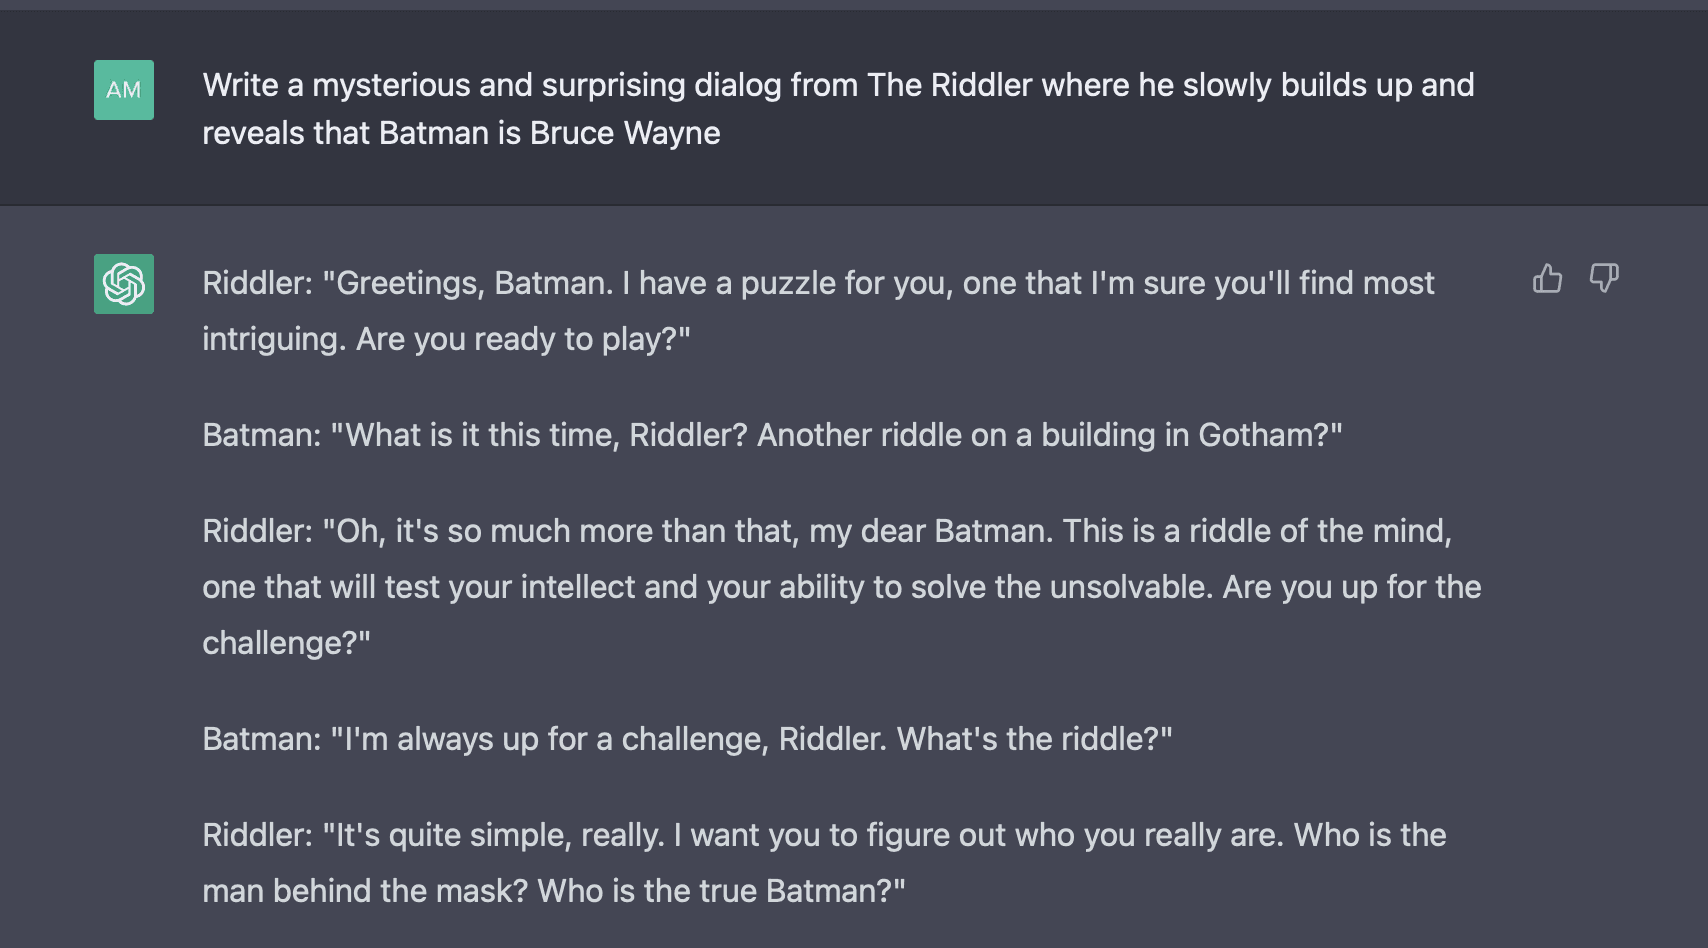
In the chat box, type a prompt that can you give enough to work with for your short video. In my case, I said initially said:
“Write a riddle in the style of the Riddler from Batman where he slowly reveals Batman's identity”

I realized the prompt here was not clear enough—it was confusingly written, and wasn’t really all that cryptic.
But, this is a process of iteration! So I got more specific:
And here, I was realizing that the riddles were just not that good, and the dialog yielded pretty bland results.
But it gave me an idea: I didn’t want a back and forth between the two characters, I wanted a monologue, where he’s slowly revealing Batman’s identity, so I asked for just that:

Now we’re getting somewhere! There was a lot of fluff, like the second paragraph (and it definitely made me laugh)- and it really didn’t add anything to the reveal.
But, a lot of the other bits were enough to work with.
I also clicked the Regenerate response button, which helped preserve the direction the first prompt had but gave me variations on the monologue.

And here, you just need to sift through the content to get to something you like. For instance, I stumbled upon this gem of a line:

Now the monologue needs to come from The Riddler, so it can’t be in third person but the base of the idea here is great! So I just reworded it from
“And the truth is that you are the Riddler's greatest puzzle, the one that he has finally solved.”
→ “You were my greatest riddle, the one I have finally solved!”
I love how this captured something you wouldn’t expect: the Riddler, a master of puzzles and cryptic messages was consumed by a puzzle himself. A taste of his own medicine. One he finally cracks.
Now that there was a solid base for a script, it was time to think about how to bring it to life!
Think about how you’re going to bring your script to life
Here, I took the script from ChatGPT and cut out parts I didn’t like, and added some of my own as well. I also knew I would be narrating it so I needed to think about how I would deliver each line and which lines would transition to a different scene. This gave the short clear structure.

I wanted the final shot to be something dramatic.
I was picturing a sharp flash between Batman in his costume and Bruce Wayne in the same costume without the mask as his identity is revealed.
So with the imagined scenes outlined - it was time to make them real with MidJourney!
Visualize the script with MidJourney
If you don't have a MidJourney account, watch this short YouTube video to see how you can get started!
So the first thing I like to do is experiment with different aesthetics to get a feel for what the scenes in the story could look like. And once you’ve narrowed that down, you’ll have a consistent style for all of the imagery in your short.
For this one, I wanted this to feel eerie, lonely, sinister—it was the Riddler locked up in Arkham Asylum after all.
I wanted to see if I could combine that with the way the Spider-verse films felt. So that’s what I initially went with:
Type: /imagine to get started and then just describe what you’re looking to create!
My full prompt was:
/imagine cartoon movie screen shot, landscape of Arkham Asylum, background of Gotham City in the style of Spider-Verse, scary, horror --ar 3:2 --v 4 --q 2

Let’s deconstruct this before we proceed forward
cartoon movie screen shot, landscape of Arkham Asylum, background of Gotham City in the style of Spider-Verse, scary, horror --ar 3:2 --v 4 --q 2
cartoon movie screen shot - just specifies the kind of image I’m going for. Initially I wanted it to feel a little cartoony.
landscape of Arkham Asylum - after declaring the style, I wanted to declare what the subject of the scene was going to be. In this case I was imagining a distant shot of Arkham.
background of Gotham City in the style of Spider-Verse - after the subject is described, I usually describe what needs to be behind it. In this case Gotham City. I also describe the art style I’m going for in this part too, so the Spider-Verse movies as we picked out earlier.
scary, horror - here you can kind of throw spaghetti at the wall a bit, and just experiment with additional descriptors. I just added scary and horror to further capture the feeling I was going for.
--ar 3:2 --v 4 --q 2: this is probably the most technical part here, but you don’t have to think about this too much! Just copy and paste this at the end of every prompt, here’s what this is doing.
a. --ar 3:2 is setting the aspect ratio so we get a landscape image, we need this for our video
b. --v 4 is making sure we use MidJourney v4, which is the latest model and yields the best results
c. --q 2 uses their built in upscaling for higher quality generations
d. You can go a lot deeper on all the parameters MidJourney offers in their docs here.
If you need more inspiration for prompt styles, you can also purchase ones that yield consistent results from PromptBase, which is another good resource.
Now that we’re done breaking down the prompt… what results did it yield?

Ooooh, there’s some good stuff here. So, now I can do 3 things:
Click the buttons number U 1, 2, 3, 4 to generate upscaled versions of that numbered image on the grid, good for picking out a shot you want to use or see a higher res version of it
Click the buttons number V 1, 2, 3, 4 to generate variations of that numbered image on the grid, good for going deeper on a specific style but generating different shots
Clicking the refresh button next to U4, this just attempts to regenerate completely new results using the same prompt if you didn’t like any of the options but want to try again with the same description
I liked what U1 and U3 were showing, so I picked those out, here’s U3, pretty sweet right?
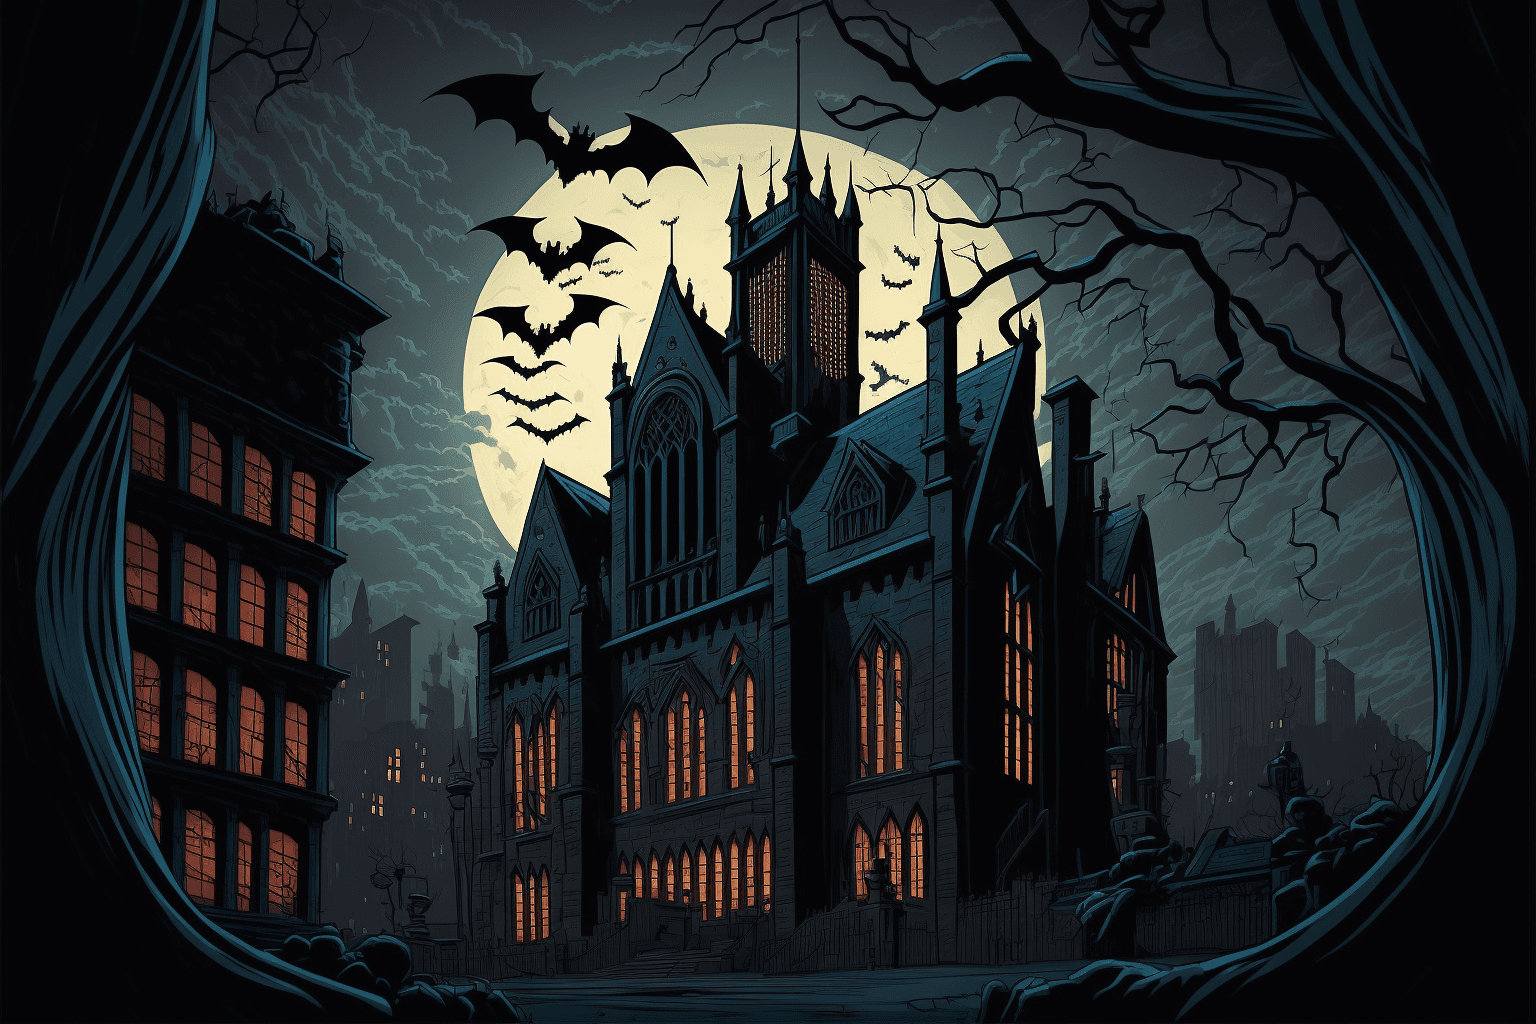
It was a nice style, and a little playful — but I wanted my short to feel darker and way grimmer.
So I changed it up a little bit and added more descriptors:

Dropping “cartoon” from the description and going for “horror scary movie” was the first change.
I then snuck in more descriptors of the feeling into parts of the prompt, so “eerie” into the part where I was describing the background.
Finally the art style, I went with “Arkham asylum art” which I felt would make MidJourney pick out art that’s depicted Batman’s home for the criminally insane.
There was no way that was going to feel cartoony, right?
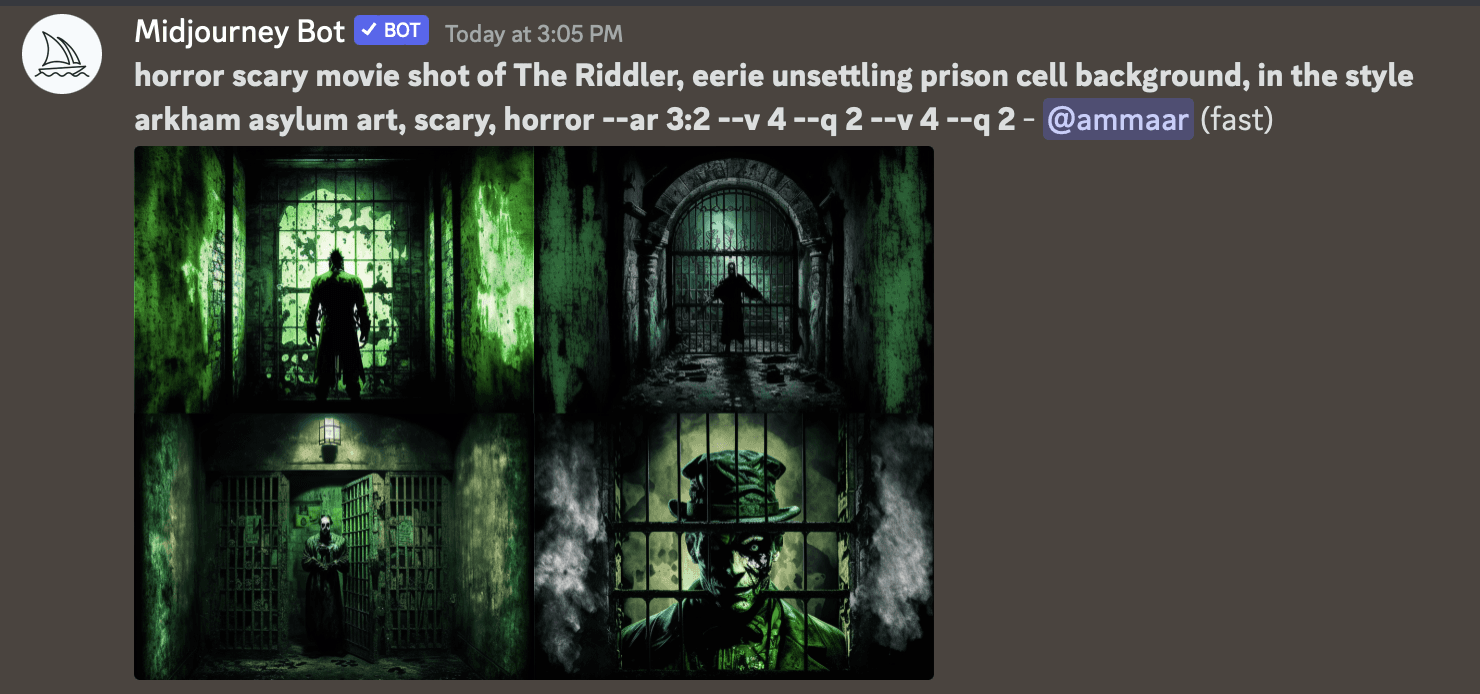
Yep, that’s pretty terrifying…

And voila, that’s essentially the process for what image generation with MidJourney is like! It’s just a lot of back and forth till you get the results you want to work with.
Just iterate and keep experimenting with your prompt!
The structure above where you describe the prompt in sections of [type of scene], [subject], [background], [adjectives], [parameters] usually helps maintain some level of consistency.

Now, once you’ve got images for each scene, it’s time to clean them up!
MidJourney infamously does still mess up (at least for now!) and adds random artifacts, whether it’s odd hands or weird eyes. But cleaning that part up actually doesn’t take that much time with the right tools. So let’s jump into that next.
Preparing the art you generated for your short
Before we animate any of the scenes, you need to do two things:
Clean up any weird artifacts
Upscale the image so it’s high enough resolution for your video. I wanted to export in 4K so it needs to be pretty high res.
So, to clean up artifacts, grab Pixelmator from the App Store! It’s an awesome Mac app that has a suite of tools that will help you edit any images and it’s super easy to use.
Once downloaded and installed, drag and drop your images into Pixelmator. Let’s walk through editing one together.
Notice the weird Batman ears it added to, what is otherwise, a pretty nice shot! Fear not, this is easy to fix.

What you want to do is select the Repair tool, zoom in, and just brush over the parts that look a little odd. The Repair tool essentially tries to erase the part you’ve selected and blend it in with the rest of the image, and it works surprisingly well! Here’s a quick demonstration:
And just like that we went from a 1500px wide image to a 13,824px wide one with just two clicks while enhancing the quality—it’s magic.
Once you’ve prepared all your images, it’s time to bring them to life with some animation!
Bring scenes to life with motion
Now, I’m sure there have got to be more tools out there but for this video, I used MotionLeap on iOS. You can grab it for free on the App Store, though to use some of the advanced effects you will have to pay a small fee.
Once the app is on your phone or iPad, you’ll want to transfer the images of your scenes over to your device so that you can import them in the app. And from there, adding effects to your images is super simple! Let’s recreate the opening scene from my short:
First, I tap “animate” and brush the part of the scene I want to add movement too. In this case, I wanted to make the mist circle around the building and the water beneath it flow ever so slightly. Once I’ve painted the area I want to move, I tap the arrow button and draw the direction it needs to flow in. Hit play and you should see your image come to life! If it feels a little odd, just experiment with the parts you want to move!
For the lightning, I tapped the effects button and found a “Haunted Horror” section, and used the lightning effect there.
And finally, when you like what you’ve made, tap Export and be sure to check 16:9 as the aspect ratio to make sure your videos are exported at the right size.
You can then pick the duration for the video. I usually keep it at around 45 seconds since it’s long enough if I want to hold at the scene but also can easily be cut down when I need to.
Finally, choose 4K and hit export!
Once your videos are ready, just AirDrop them back to your Mac, we’re almost done!
Record your audio and pick out your music
There isn’t much to add here besides just living out your voice acting dreams! I literally used the voice memos app on my iPhone and recorded the lines over and over again, till I got to a delivery I was happy with.
You could of course use an AI text-to-audio tool as well, but I wanted to star in my own short in some way 😄.
The next thing I wanted to do was pick out a background track that gave my short a suspenseful build-up. Solid background music can do so much to create an atmosphere all on its own. For this, I went to Epidemic Sounds, an incredible site with tons of royalty-free tracks you can use.
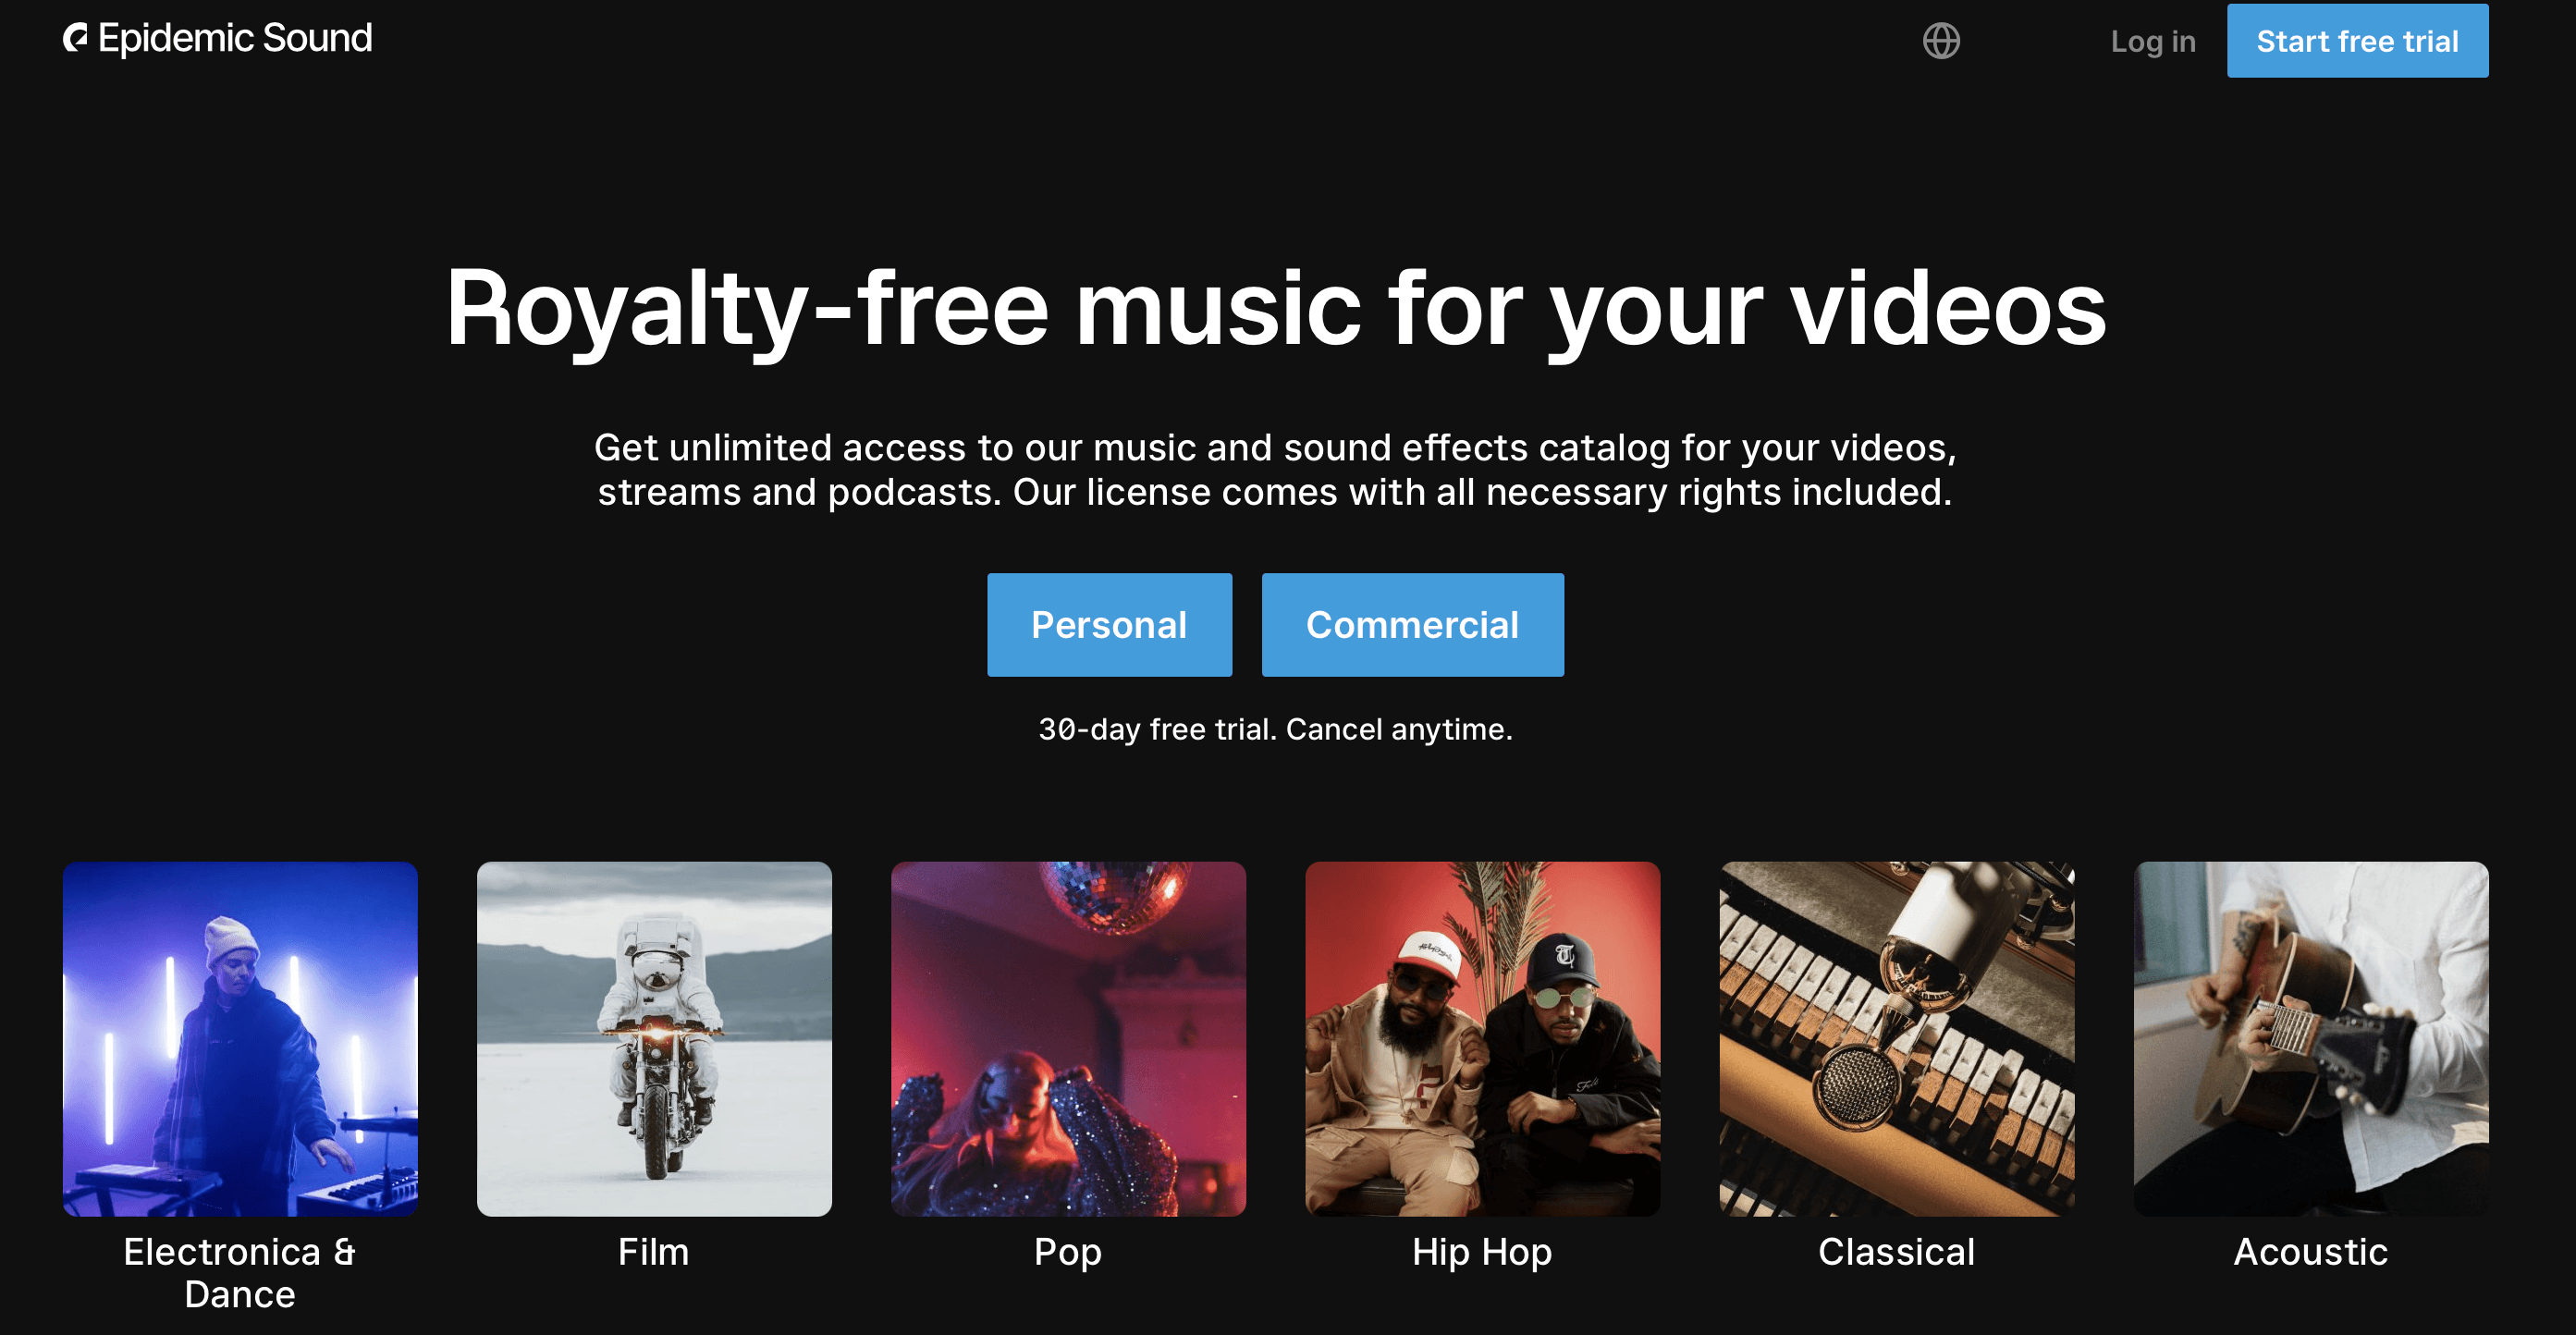
I went to the Thriller/Mystery suspense section and picked out a few options until I settled on the one I finally went with for my short.
Additionally, my short also featured rain and lightning.
Epidemic Sounds has a whole sound effects section where you can download thunder or rain sounds.
I grabbed a few options and mixed them together so that the imagery and the sound effects turned each shot into an immersive experience.
Clean up your audio
For my dialog, I used Adobe’s audio enhance tool to remove any background noise or weird echos and prepare it for my video.
It was super simple. Just airdrop the audio file over to your Mac, upload to Adobe’s site, and let it do the rest!
https://podcast.adobe.com/enhance
Perfect! You can now use your object called “puzzles” like any other JavaScript object. It’s as easy as that.
With this knowledge you can start to build many exciting things. Feel free to use the puzzle as an idea, maybe it'd be a cool party game?!

Put it all together
With your exported videos from MotionLeap, your dialog, and music and sound effects from Epidemic Sounds, go to your favorite video editor and stitch it all together.
My favorite is Final Cut Pro, but if you want a free one that has a bunch of tricks to make editing super easy, just download CapCut from the App Store—it’s designed by ByteDance the parent company of TikTok so it has a bunch of neat features designed for social sharing (like automatic subtitle generation).

Done.
With your exported videos from MotionLeap, your dialog, and music and sound effects from Epidemic Sounds, go to your favorite video editor and stitch it all together.
My favorite is Final Cut Pro, but if you want a free one that has a bunch of tricks to make editing super easy, just download CapCut from the App Store—it’s designed by ByteDance the parent company of TikTok so it has a bunch of neat features designed for social sharing (like automatic subtitle generation).
What now?
You don’t need to study computer science or finish a coding bootcamp to make cool stuff. Just start shipping as fast as possible and pick ideas you think are cool.
Join other builders just like you in the next Nights & Weekends cohort for a 6 week sprint to build whatever you want.