ML/AI
Design
How to restore AI-generated faces using GFPGAN
Sahil
•
Jan 10, 2023
Generating crazy images with AI using Stable Diffusion, Midjourney is all the rage. But often, the faces are f**ked up. Let's see if we can fix that!
If you’re reading this note, I’m sure you must have tried creating some images using a text-to-image model. Either you've used Stable Diffusion, Midjourney, or played around with DALL-E-2? All of them are incredibly powerful and can supercharge your design/asset-generation workflow. But… sometimes… the images are just not it. Especially with faces or hands, there are often discrepancies that prohibit us from using an otherwise perfect image. Let's address some of these issues in this note and see if we can use AI to fix them!
BTW, if you haven't created images with AI, wtf are you doing? Take it for a quick spin to have your mind blown. This is a good starting resource:


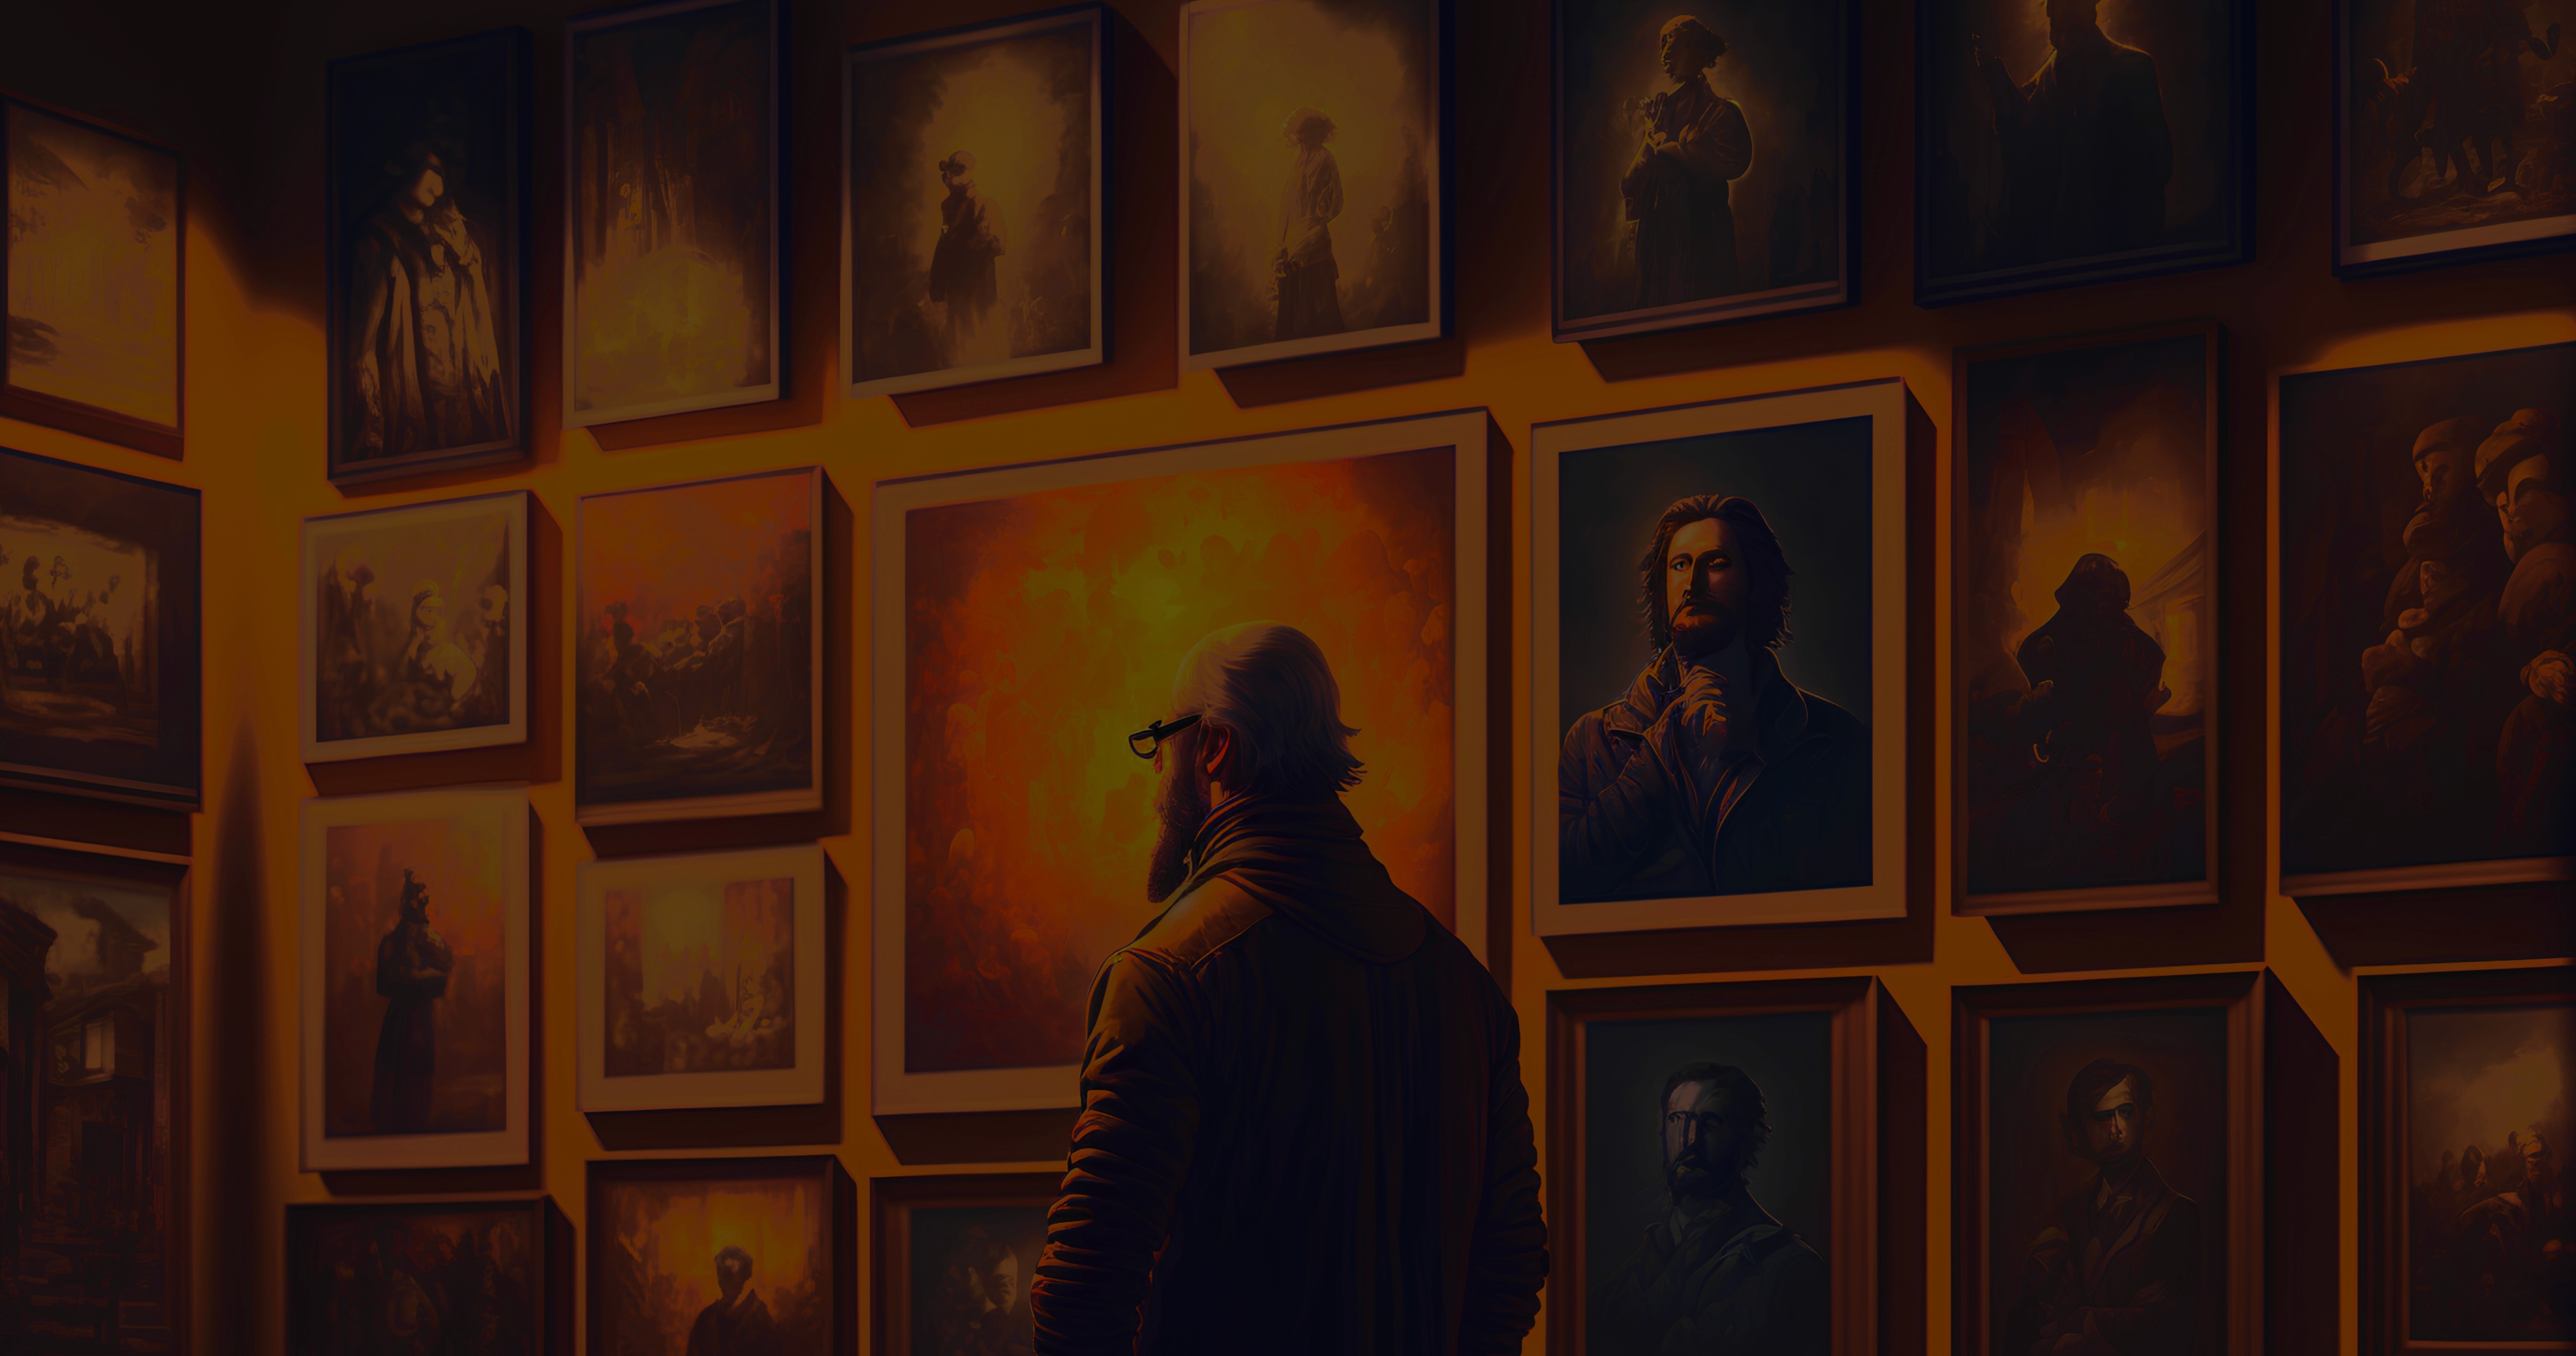
So, what are these distorted images? Well, take a look for yourself, lol. Either they are blurry or hazy, or they are just… off.
I'm sure if you've generated enough images, you would have come across this issue time and again.
It can be a major disappointment when we carefully craft the prompt, choose the perfect setting, trial and experiment, and are happy with the results - except for the face of the subject. It makes the whole process go awry, leaving you feeling dissatisfied with the results. But don't despair - there is hope!
With this step-by-step guide, you'll learn how to fix and restore those messed-up faces, bringing your AI-generated masterpieces back to life.
GFPGAN to the rescue!
We can restore faces using an algorithm called GFPGAN. Wtf is GFPGAN?!
GFPGAN is an algorithm that uses a pre-trained generative adversarial network (GAN) to restore faces in real-world images and make them look more realistic.
It's called blind face restoration, and it can really improve the appearance of a face. Basically, GFPGAN uses something called the generative face prior in a GAN like StyleGAN2 to do its magic. It's super accurate, too.
Didn’t understand?! It’s fine. Just move on to test the model anyways lol. You can DYOR about the algorithm and fill in the blanks in your understanding later on.
To run this model, you can open this Google Colab link on your browser and make sure you are signed in with your Google account. You can access the model here.
The Colab environment is divided into cells where various actions can be performed. As we work through the process of training our model, we will move through these cells one by one. To execute a cell, simply click the play button located in the top left corner of the cell.
⚠️ Before running the first cell, choose the following in the Runtime menu -> Change runtime type:
Runtime Type = Python 3
Hardware Accelerator = GPU
Now you can go ahead to run the first cell.

This will clone the repository, set up the environment by installing all the dependencies, and download the pre-trained model.
Once the cell is executed, you can run the next cell to upload our input image, which is the distorted output obtained by Stable Diffusion or any other AI-generation model.
You should get an option to upload an image file after running the cell.

This is the input image that I’m using. It's too blurry, and I want to see if the model can restore it to its full glory.

Once the image has been uploaded, it will be saved in the inputs/upload folder.
Alternatively, if you are just testing out the model, you can run the next cell to use the demo image.

Alternatively, if you are just testing out the model, you can run the next cell to use the demo image.
This cell is where all the magic happens. Go ahead and run the cell without wasting any more time! You can also use the options mentioned in the comments of the code for customized results.

Now to see our results, run the next cell.

Running this cell will display the cropped version of input and restored images focusing on the face.

Crazy, right?! 🤯
To view the entire image, run the next cell.

Tadaa!
Drumroll please...
Our image has been fixed and now it is crystal clear!

💾 Optional step to save
If you want to download a zip file of your results folder you can run the last cell.
🦾 Run GFPGAN on Replicate
If you want to run this model on Replicate instead, here's the link!
I've used this process countless times to fix images. I've also used it to restore old photographs of my family. This is a powerful model, and I hope you can bring a lot of images back to life (whether AI-generated or not!).
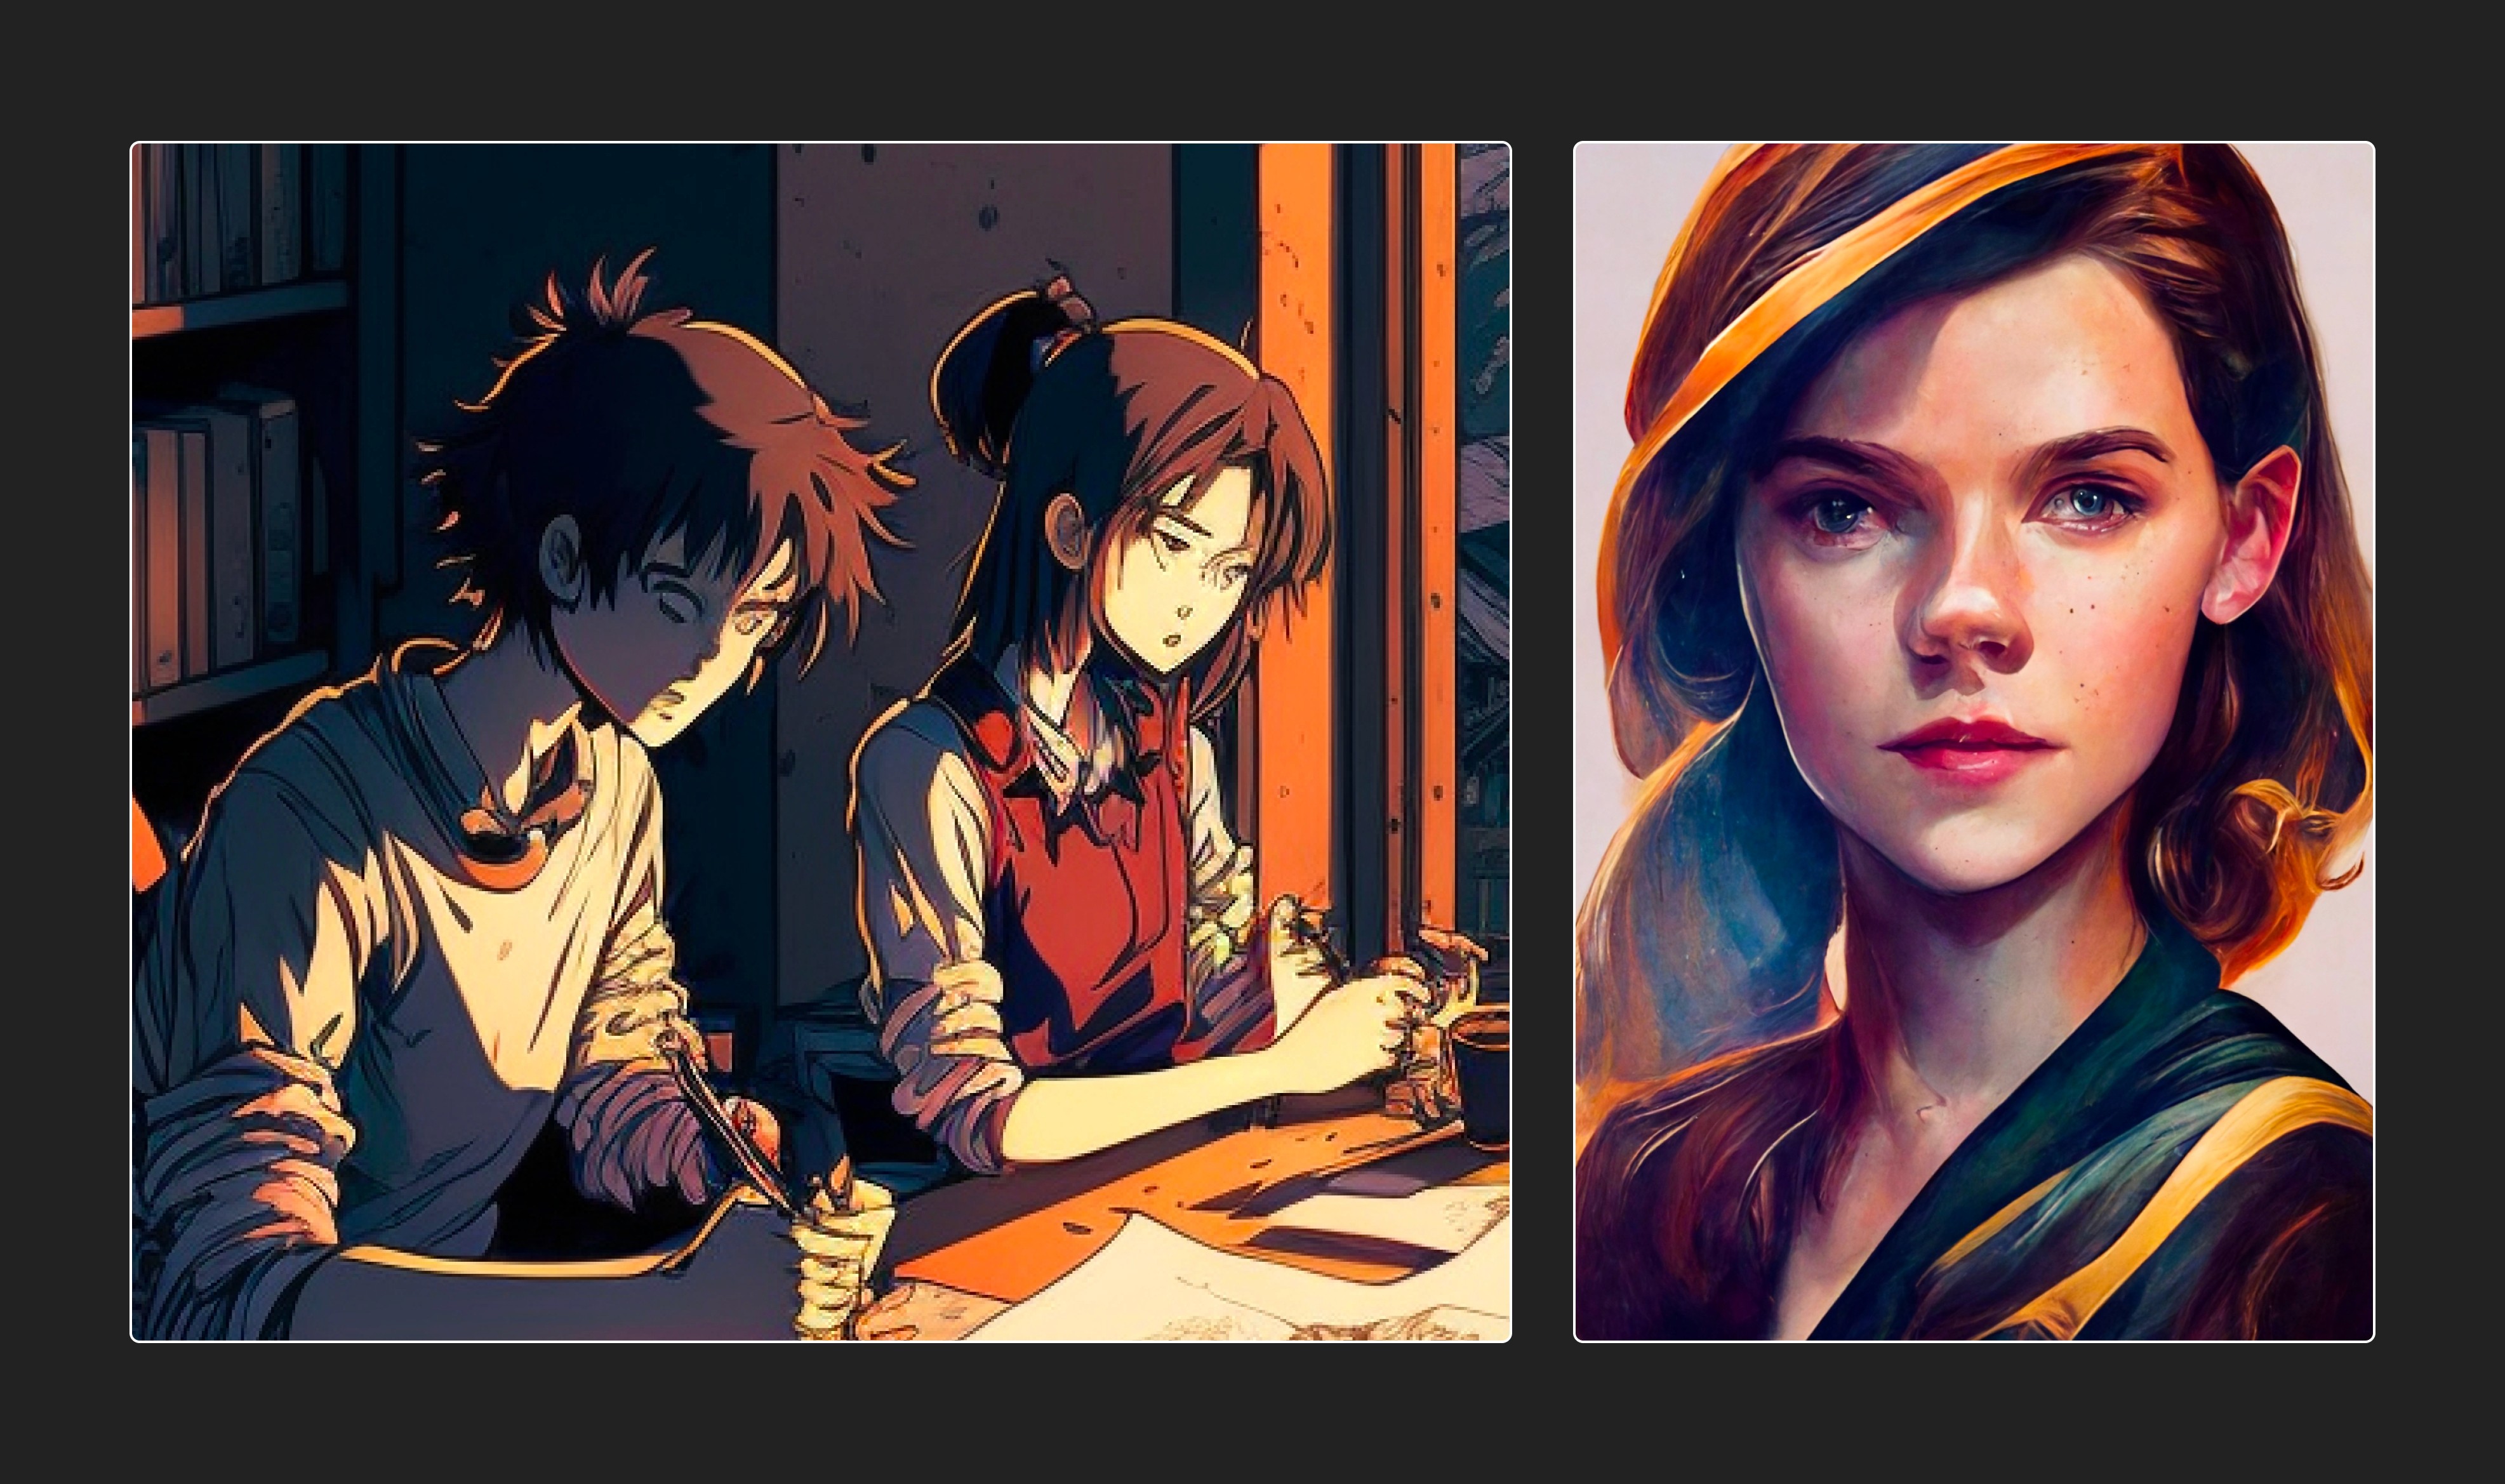
Here are a couple of other images I fixed!


Wrapping it up!
GFPGAN is pretty useful when it comes to fixing distorted images generated by AI. Its advanced algorithms and efficient processing make it a reliable choice for anyone in need of sharp, clear images.
Whether you're a professional photographer, artist, or someone looking to improve the quality of your personal photos, GFPGAN is definitely worth trying out. It's easy to use and can deliver some seriously impressive results.
So don't sweat it if you're dealing with distorted images - GFPGAN has got you covered. Hope you found this helpful! I'm excited to see the images you fix :).
Till next time,
– Sahil
👽
Brought some images back to life?!
PS. wanna create some sick AI avatars?!
Wanna build your own AI Avatar using 5 photos of yourself? Check out this project. All it takes is a weekend to take your skills to a whole new level.
