Arib
•
Dec 9, 2022
Seen those AI avatars all over social media and wondering how to create some for yourself?
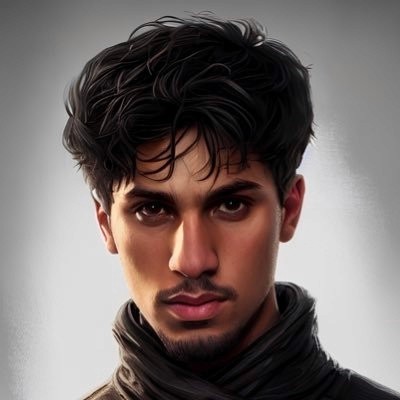
My Twitter DMs recently blew up after I switched my profile pic to the one you see below. People were going crazy over how I did it and if I could make profile pics for them. Don't worry, I got you!

It’s really simple. And it’s all done by AI.
I’m actually not a very technical person, and I was able to pull this off in just one day. I even built a web app, Imagineai.me, for this!
I’m gonna teach you how to build an app that turns 5 regular selfies into 20 AI-generated profile pics in any style you want.
This will all just take 10 minutes.
Here’s a quick TL;DR of the entire build and the structure of this note you’ll be reading.
TLDR on how Stable Diffusion works.
Get 5-10 clear pictures of your face.
Setup environments on Google Colab.
Download Buildspace.ckpt.
Train your model.
Btw, shipping this app sets you up to join 1000s of other builders for a 6-week sprint called Nights & Weekends. You'll get tons of support and feedback to turn any idea into a product or company.
All you gotta do is apply here.
How does Stable Diffusion do its magic?
We’re gonna train Stable Diffusion using your face. After all, you want to be able to generate custom AI profile pictures yourself. You can get the full details on how Stable Diffusion works here, but I will give you the details that matter most.
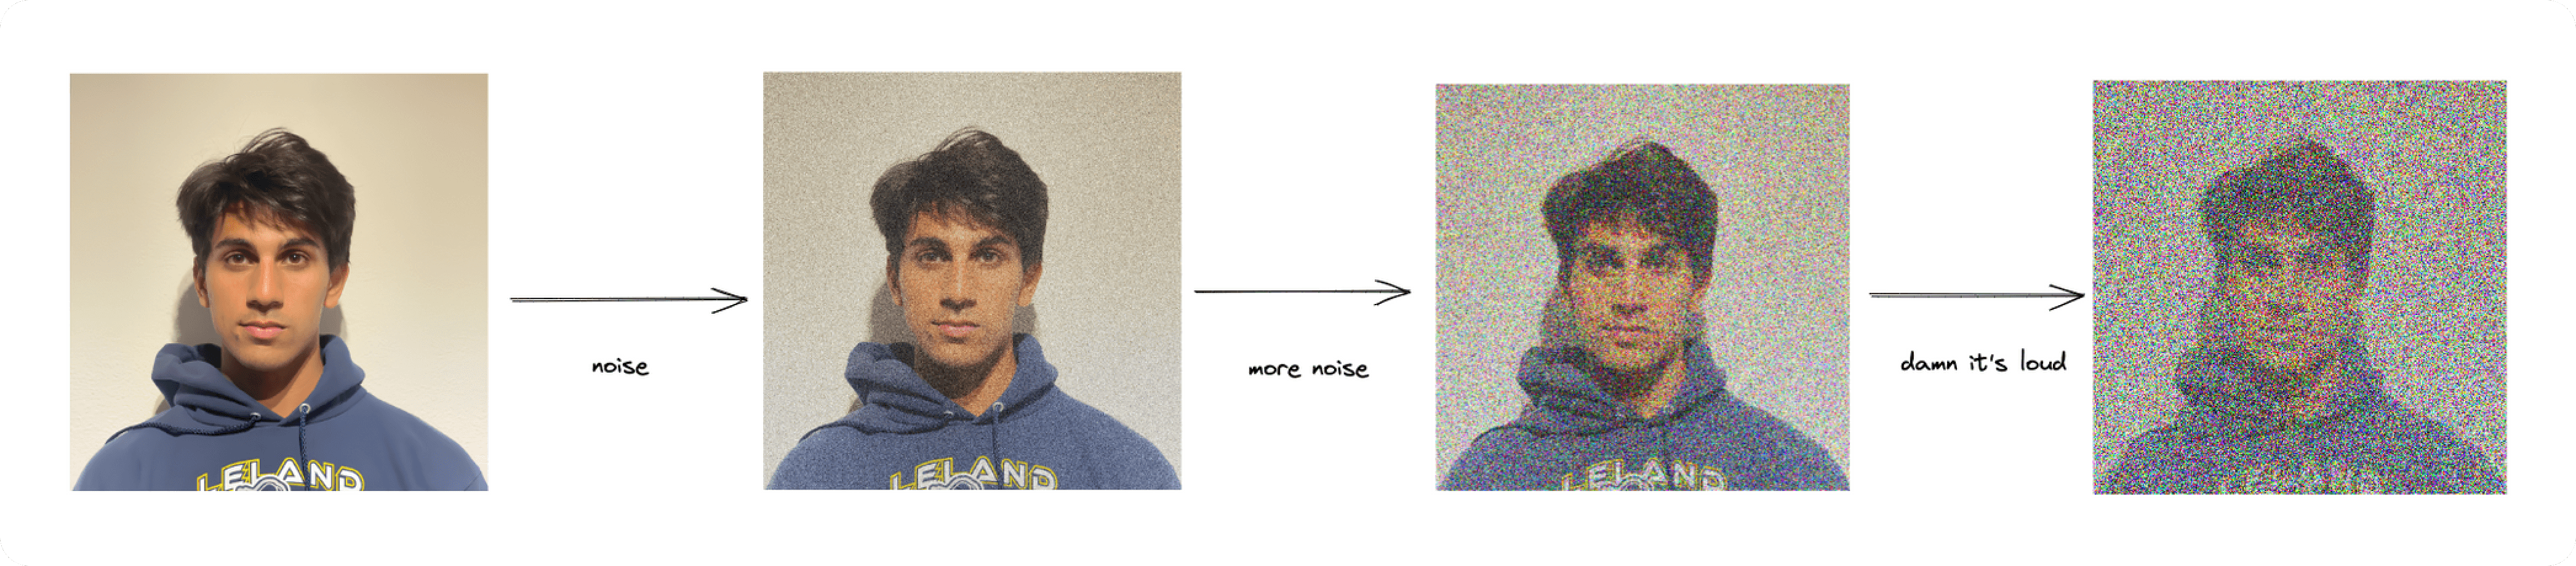
The general gist of how Diffusion models work is to feed the model a base image. In this case, it’s an image of you.
Once the model has your face, "the base image", it adds more and more noise to your face until you’re unrecognizable (hence, diffusion). So far in this process, there is no AI involved.
The magic comes in when the AI tries to find a way to recreate step-by-step what your face looks like from the noisy image. Once it successfully does that, that's when we can say the AI has "learned" your face. In the most basic sense, this is what we call machine learning.
You can now imagine how powerful this technique is and how the same concept of machine learning can be applied to other things, such as writing, art, sounds, and more. More on that in a future note!
Alright, get ready to take some selfies
Unless you’re a famous person, Stable Diffusion has no clue what you look like. So we gotta give it some pics of yourself to learn from. About five selfies will do.
Since we are interested in making profile pics, we want to train the model with headshots. Check out the examples I gave below.
Now that you have a general idea of how diffusion works, you can see that the model needs clean pictures and a few different types of it to learn more about your face.
If you include a picture with a bunch of random stuff with it, then Stable Diffusion might think that you’re trying to train it on those objects too.

Tips regarding the selfies you train the model on:
✅ Clear closeup, neutral background
✅ Varied facial expressions in 1-2 images
❌ Other people or background noise
❌ Caps, sunglasses, eye patches, whateva
I recommend that you crop and adjust your selfies to be 512x512.
The model will learn best with images with consistent sizes. Make sure to center yourself in the selfie.
Time to train the model for free using Google Colab
Training models can be really complicated and expensive. Fortunately, there’s a bunch of free and easy workarounds.
You can train your model in Google Colab - which is like a notebook in the cloud. It allows you to write Python code in it without having to download anything yourself.
What really makes Google Colab op is that you are using Google’s GPU to train your model for free!
Just sign into Google Drive and open this link in your browser: https://colab.research.google.com/github/TheLastBen/fast-stable-diffusion/blob/main/fast-DreamBooth.ipynb

Check out Colab environment. You’ll notice different sections or cells, where various actions occur. We’ll move through one cell at a time while we train our model.
To run a cell, you just click the play icon in the top left of each section.
First, connect your Google Drive so that you can store the model that you’ll be training as well as the images you took.
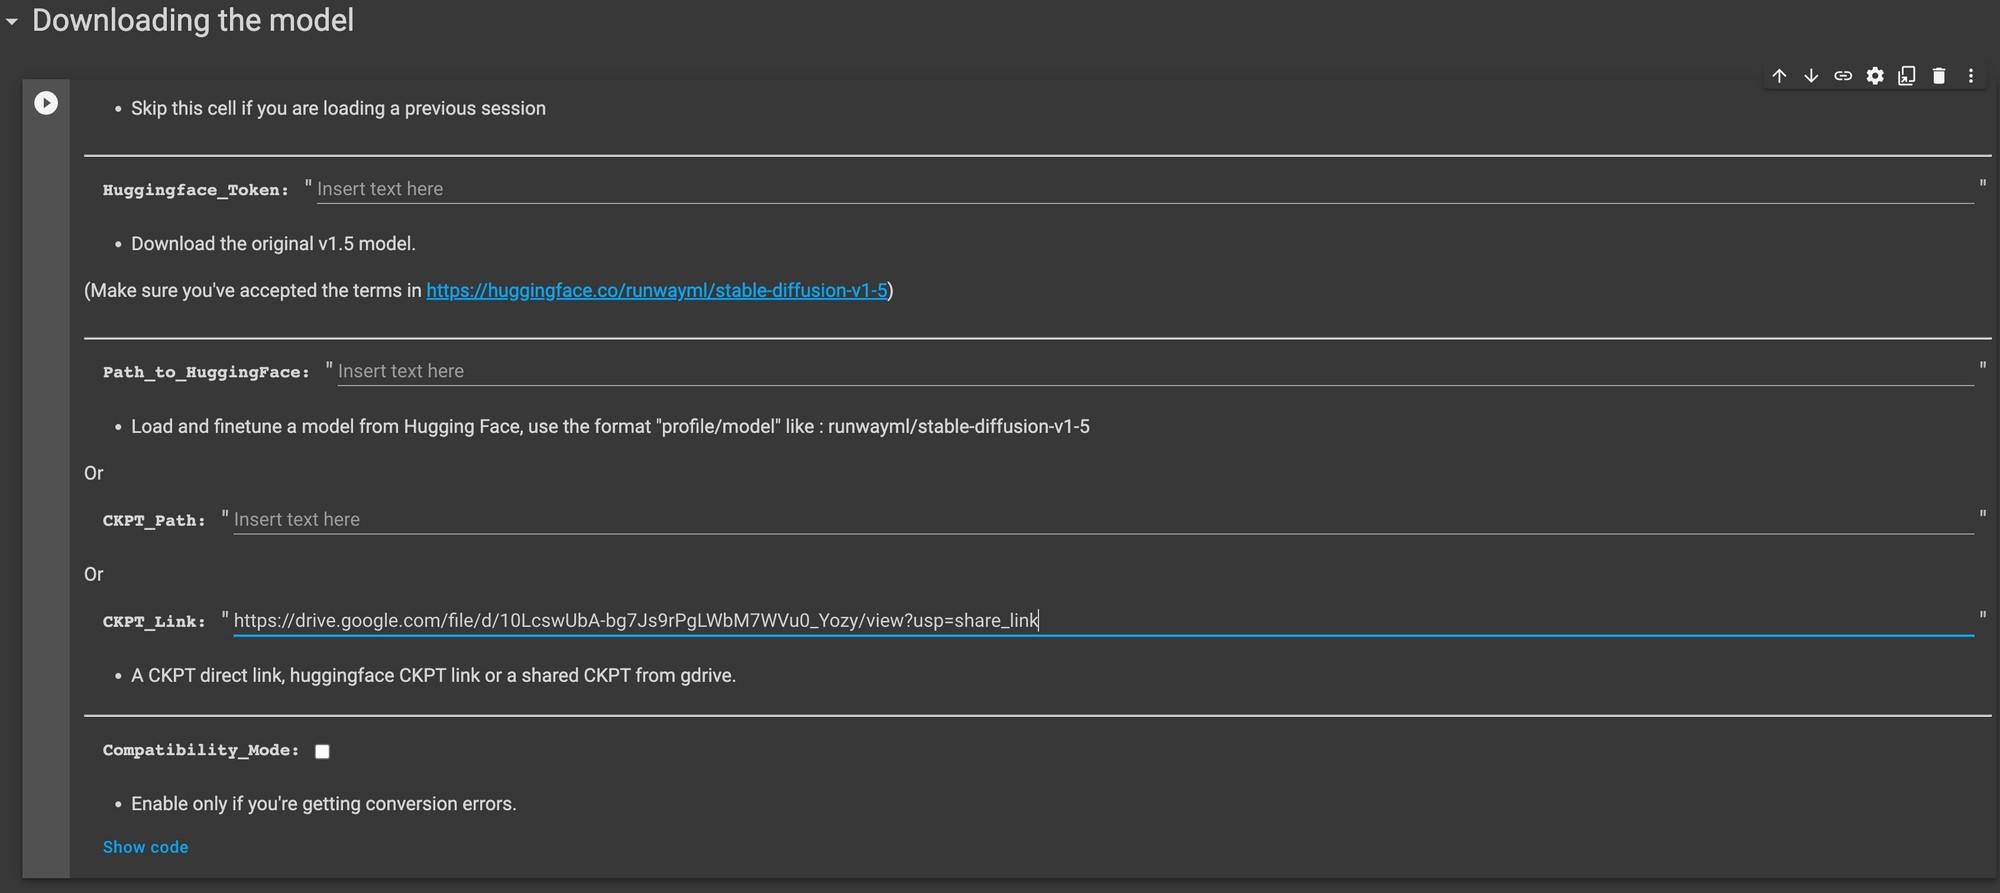
Then go to the next cell and plug this link into CKPT_Link field: https://drive.google.com/file/d/1nL36kqdawd_hlwQfRT0yPoC7dFJJALo3/view?usp=share_link
Just as a JPEG stores images, a CKPT file stores the stable diffusion model we’ll be using.
⚠️ If there is a CKPT_Link error, remove the link and put this hugging face token in and run again: 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.
Now, we’re ready to download the model. Run this cell and you’ll have the model up on a cloud GPU.
Name your session and run the cell below.
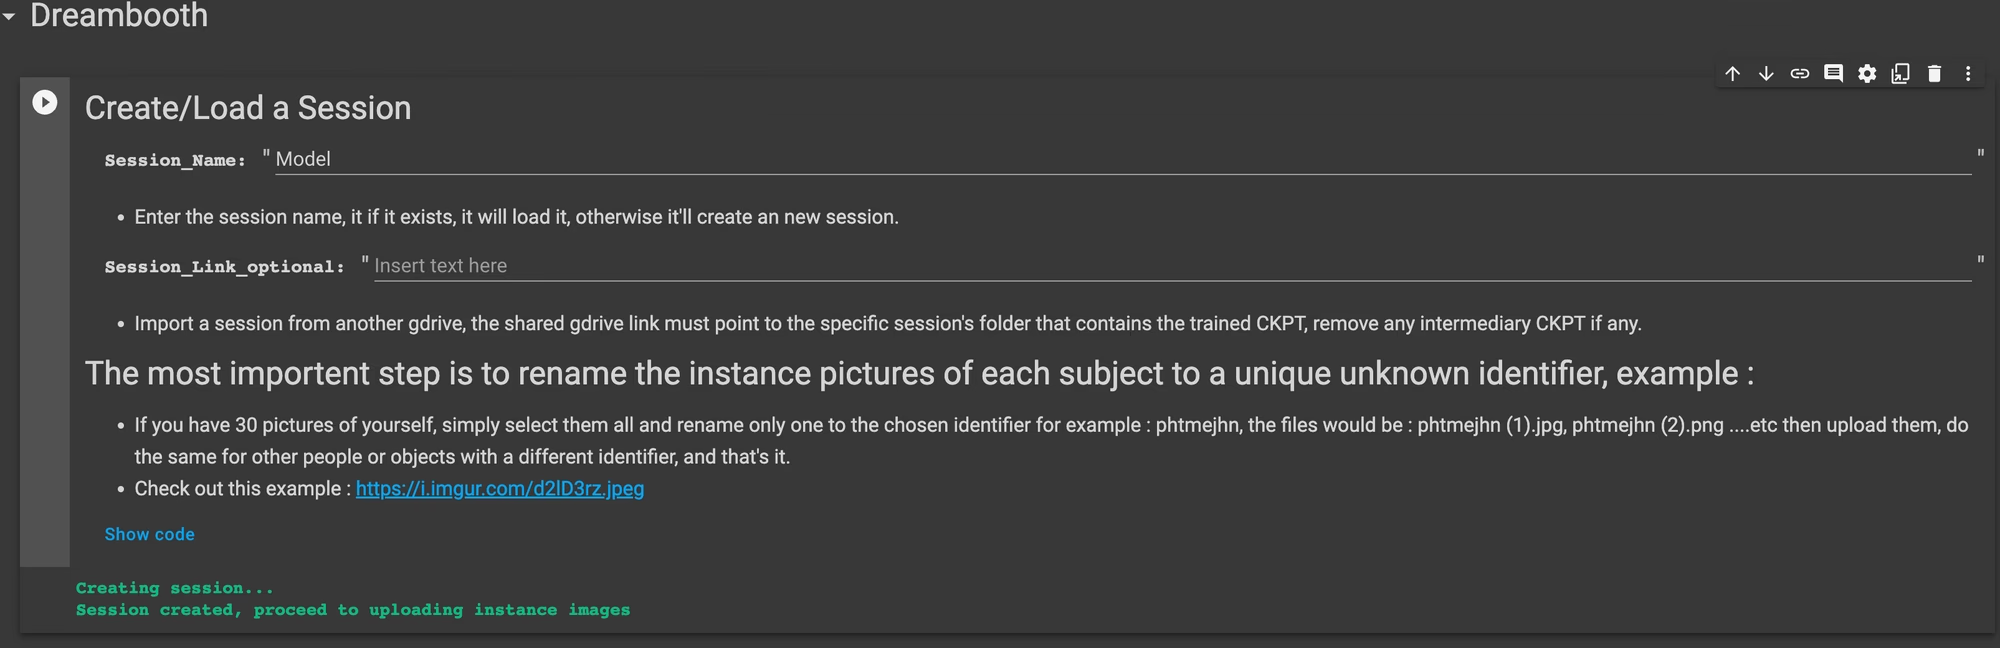
🚨 This part is super important.
Make sure to name all the files with the subject name.
If you have 10 pictures of yourself, select them all and rename only the ones to the chosen identifier for example: Arib, the files would be: Arib(1).jpg, Arib(2).png...etc then upload them.
You can use both jpeg and png files.
Also If you have a common name like Jeff (that's tuff), make sure to change it to jeffd or joffer or something unique. This way Stable Diffusion doesn't mistake it for something it's already trained on.

Make sure the names of all your files match the name of the subject.
Once you have named all the files, run the next cell and upload them where it says "choose files".

After the images are done uploading move to the next cell.
Training Time
Now it’s time to decide how many steps to train our model!
Training steps are basically how many iterations that Stable Diffusion will take to learn the details of your face. The more training steps you have the more accurate your model becomes.
You don’t wanna have train it too much though.
Here’s a good rule of thumb for the number of steps:
If you have 10 images, then train with 1000 steps.
The more steps you put the longer the model will take to train. For example, I usually put 1000 steps and it takes around 20 minutes to train the model on Google Colab.
Since I uploaded 7 images I will train the model for 700 steps

Run the cell once you have decided how many steps you want to train
It takes a second but eventually your model will start training

Now we wait for the model to train. This usually takes 10-25 mins.
🚨 Make sure to stay active on the Colab or it will shut down due to inactivity.
Once you get this cell your training is complete:

It's finally time to run the last cell!
This last cell will upload our model into a WebUI so we can start generating our images
⚠️ Ensure that the session name field is empty when you are running this cell.

This cell will show a ton of errors once you run it but after a couple of seconds, the errors will disappear.
Sometimes it might take a minute or two to get Google Colab to start. No need to worry.
Once you see the Local URL link open it up
When it says its "running the model on a local URL", we are basically getting access to a GPU remotely via a URL so that you don’t have to use your own computer.

After you open up the link press the button that says “click to continue” and leave Colab running on another tab.
Time to finally generate some AI avatars!
The webUI should have kicked in and you should be looking at the following screen:
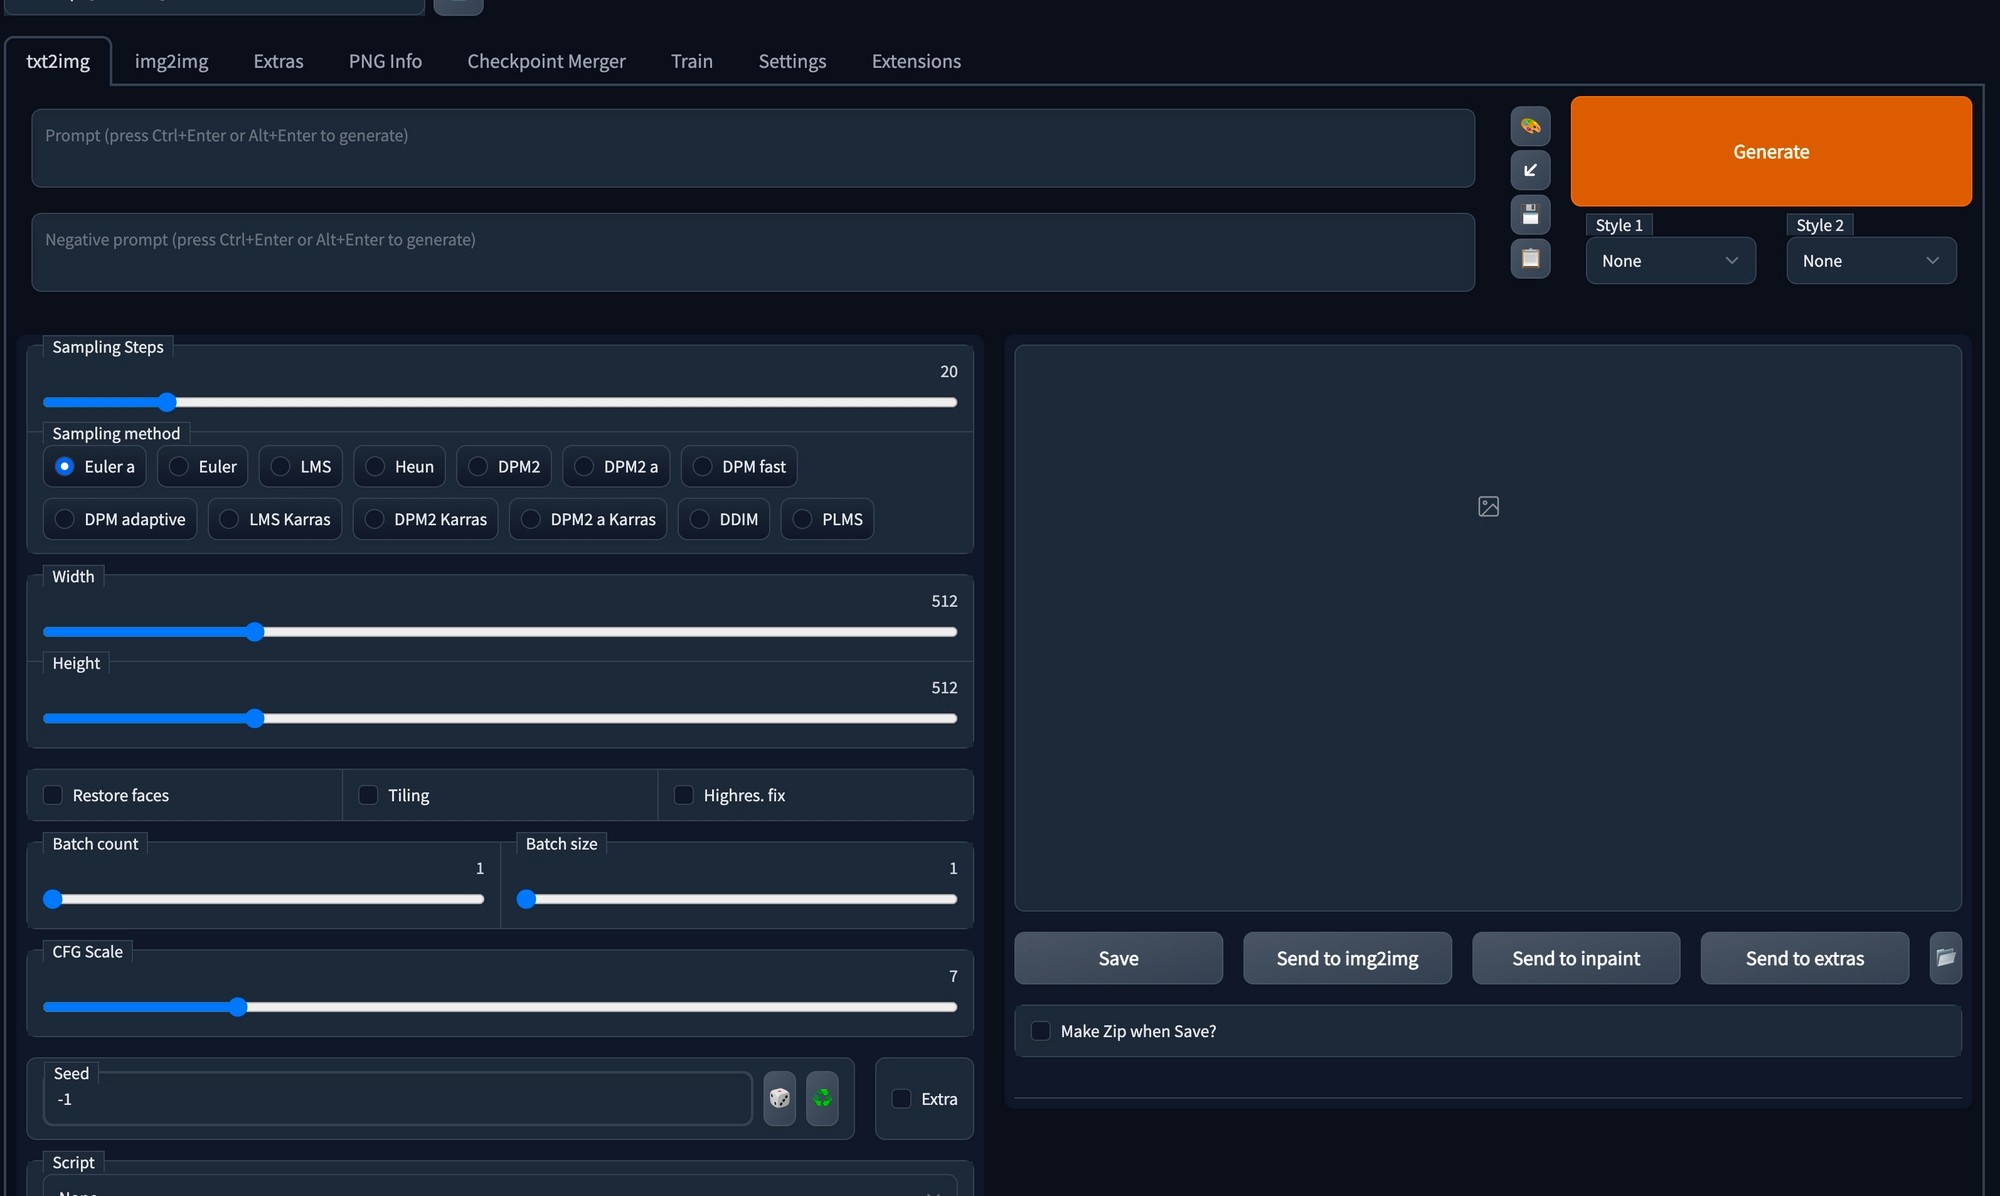
A lot is going on here, but let’s just focus on two important things right now:
The prompt that you’re gonna write on the prompt line
The generate button to generate and get your image.
The prompt line is what makes this interesting. You can tell Stable Diffusion what style you want your pfp to look like.
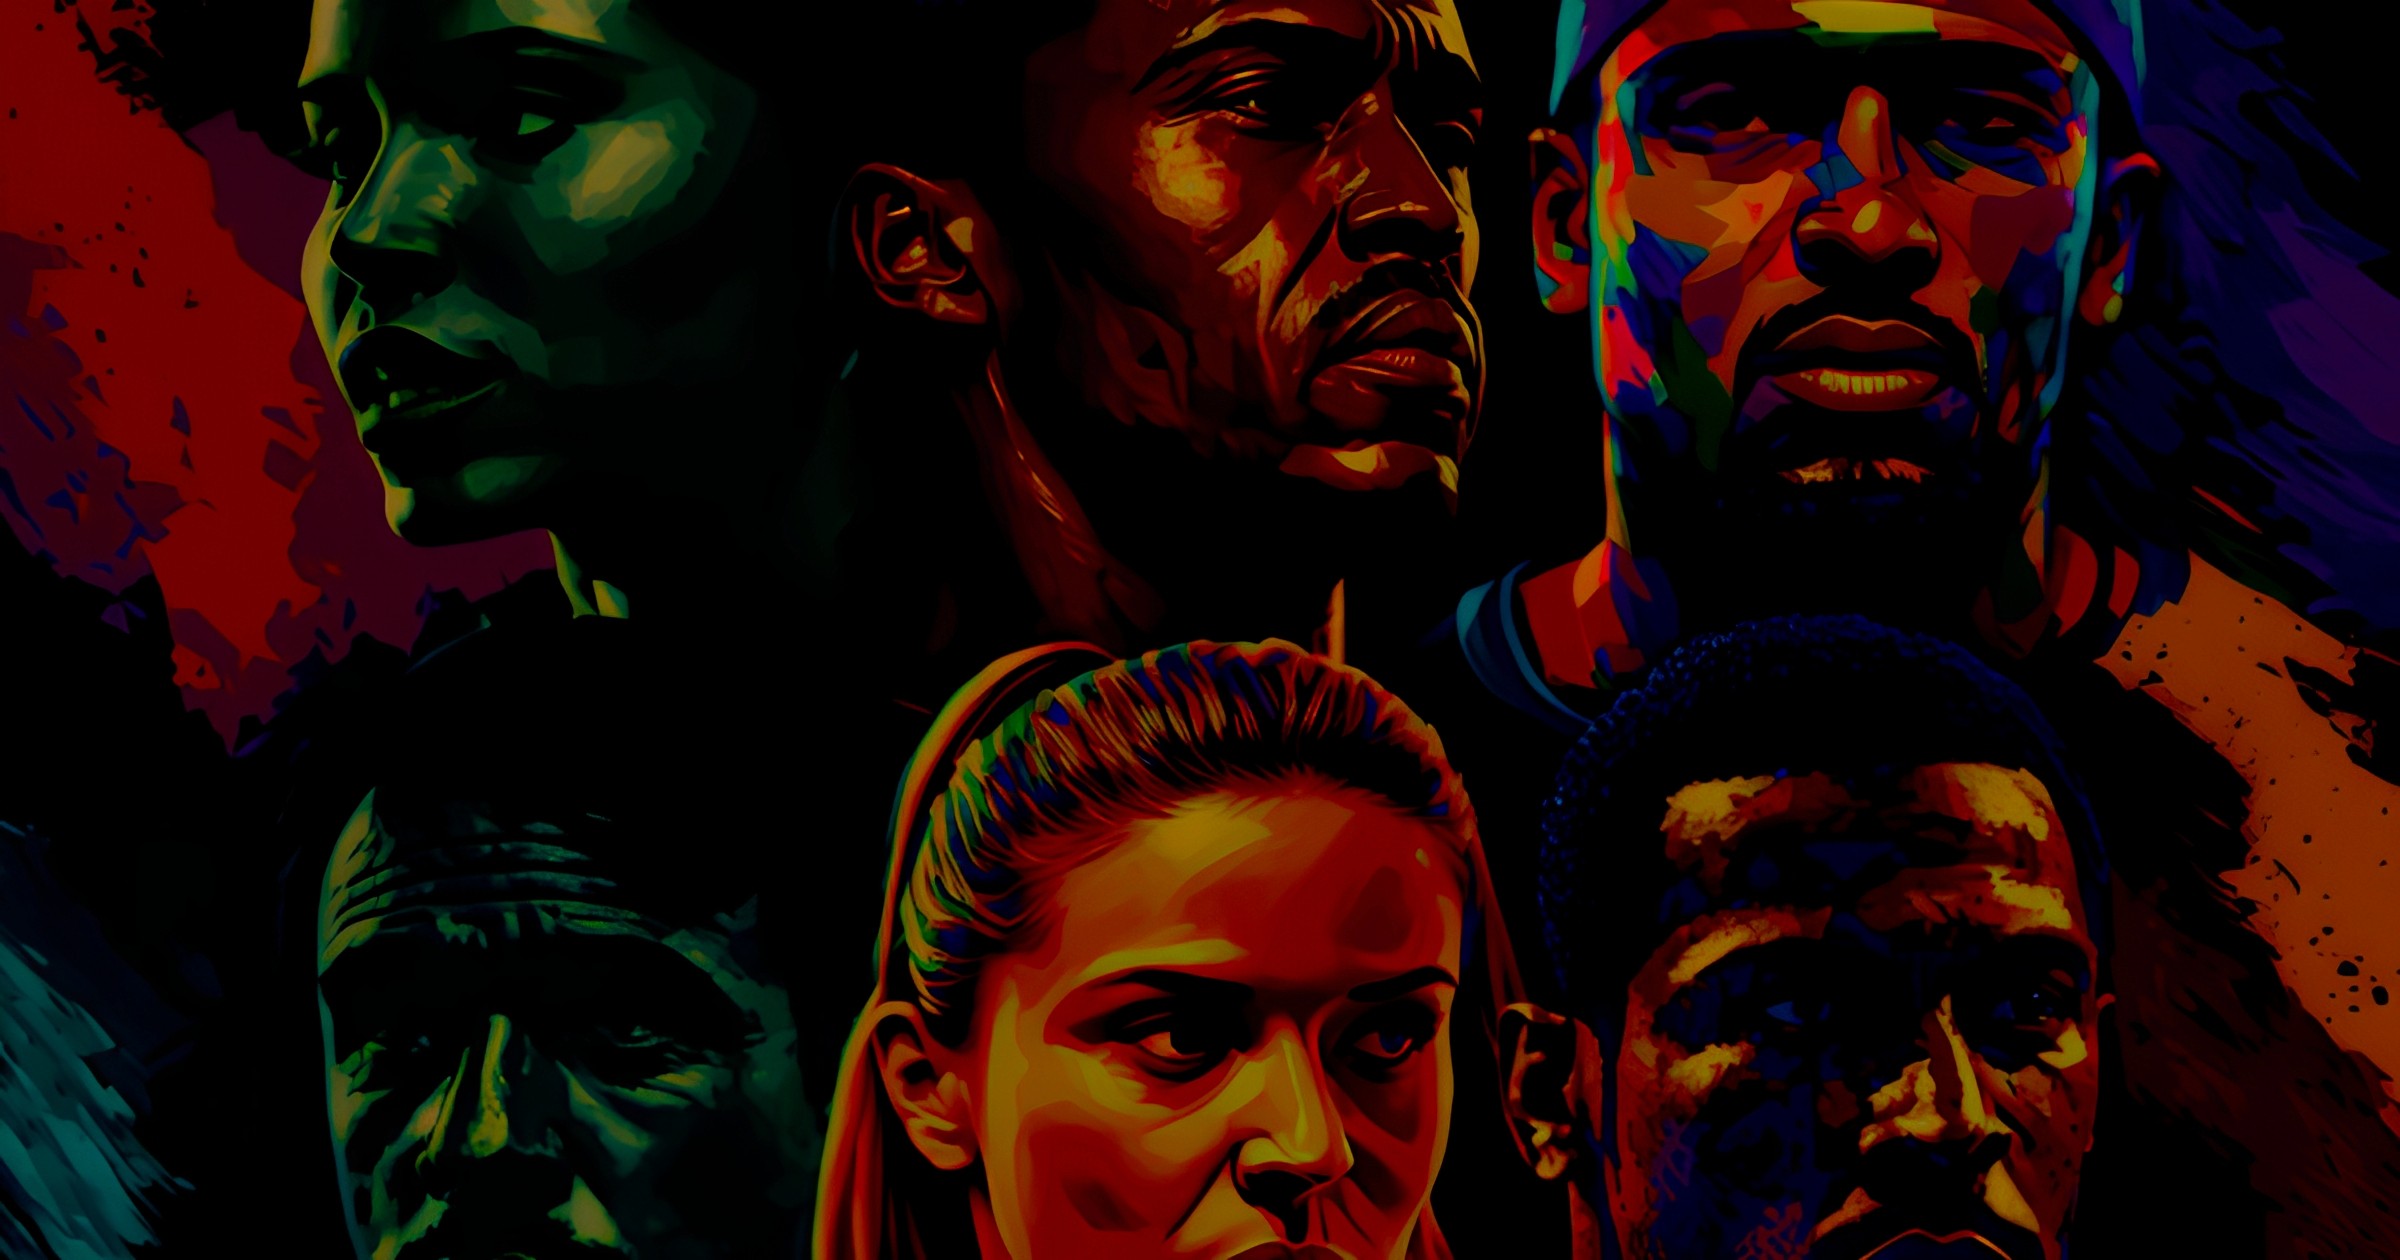
I typed in “Painting of Arib as a boxer, upper body” and got this sick pfp.
Make sure include the name that you used when you named your images.
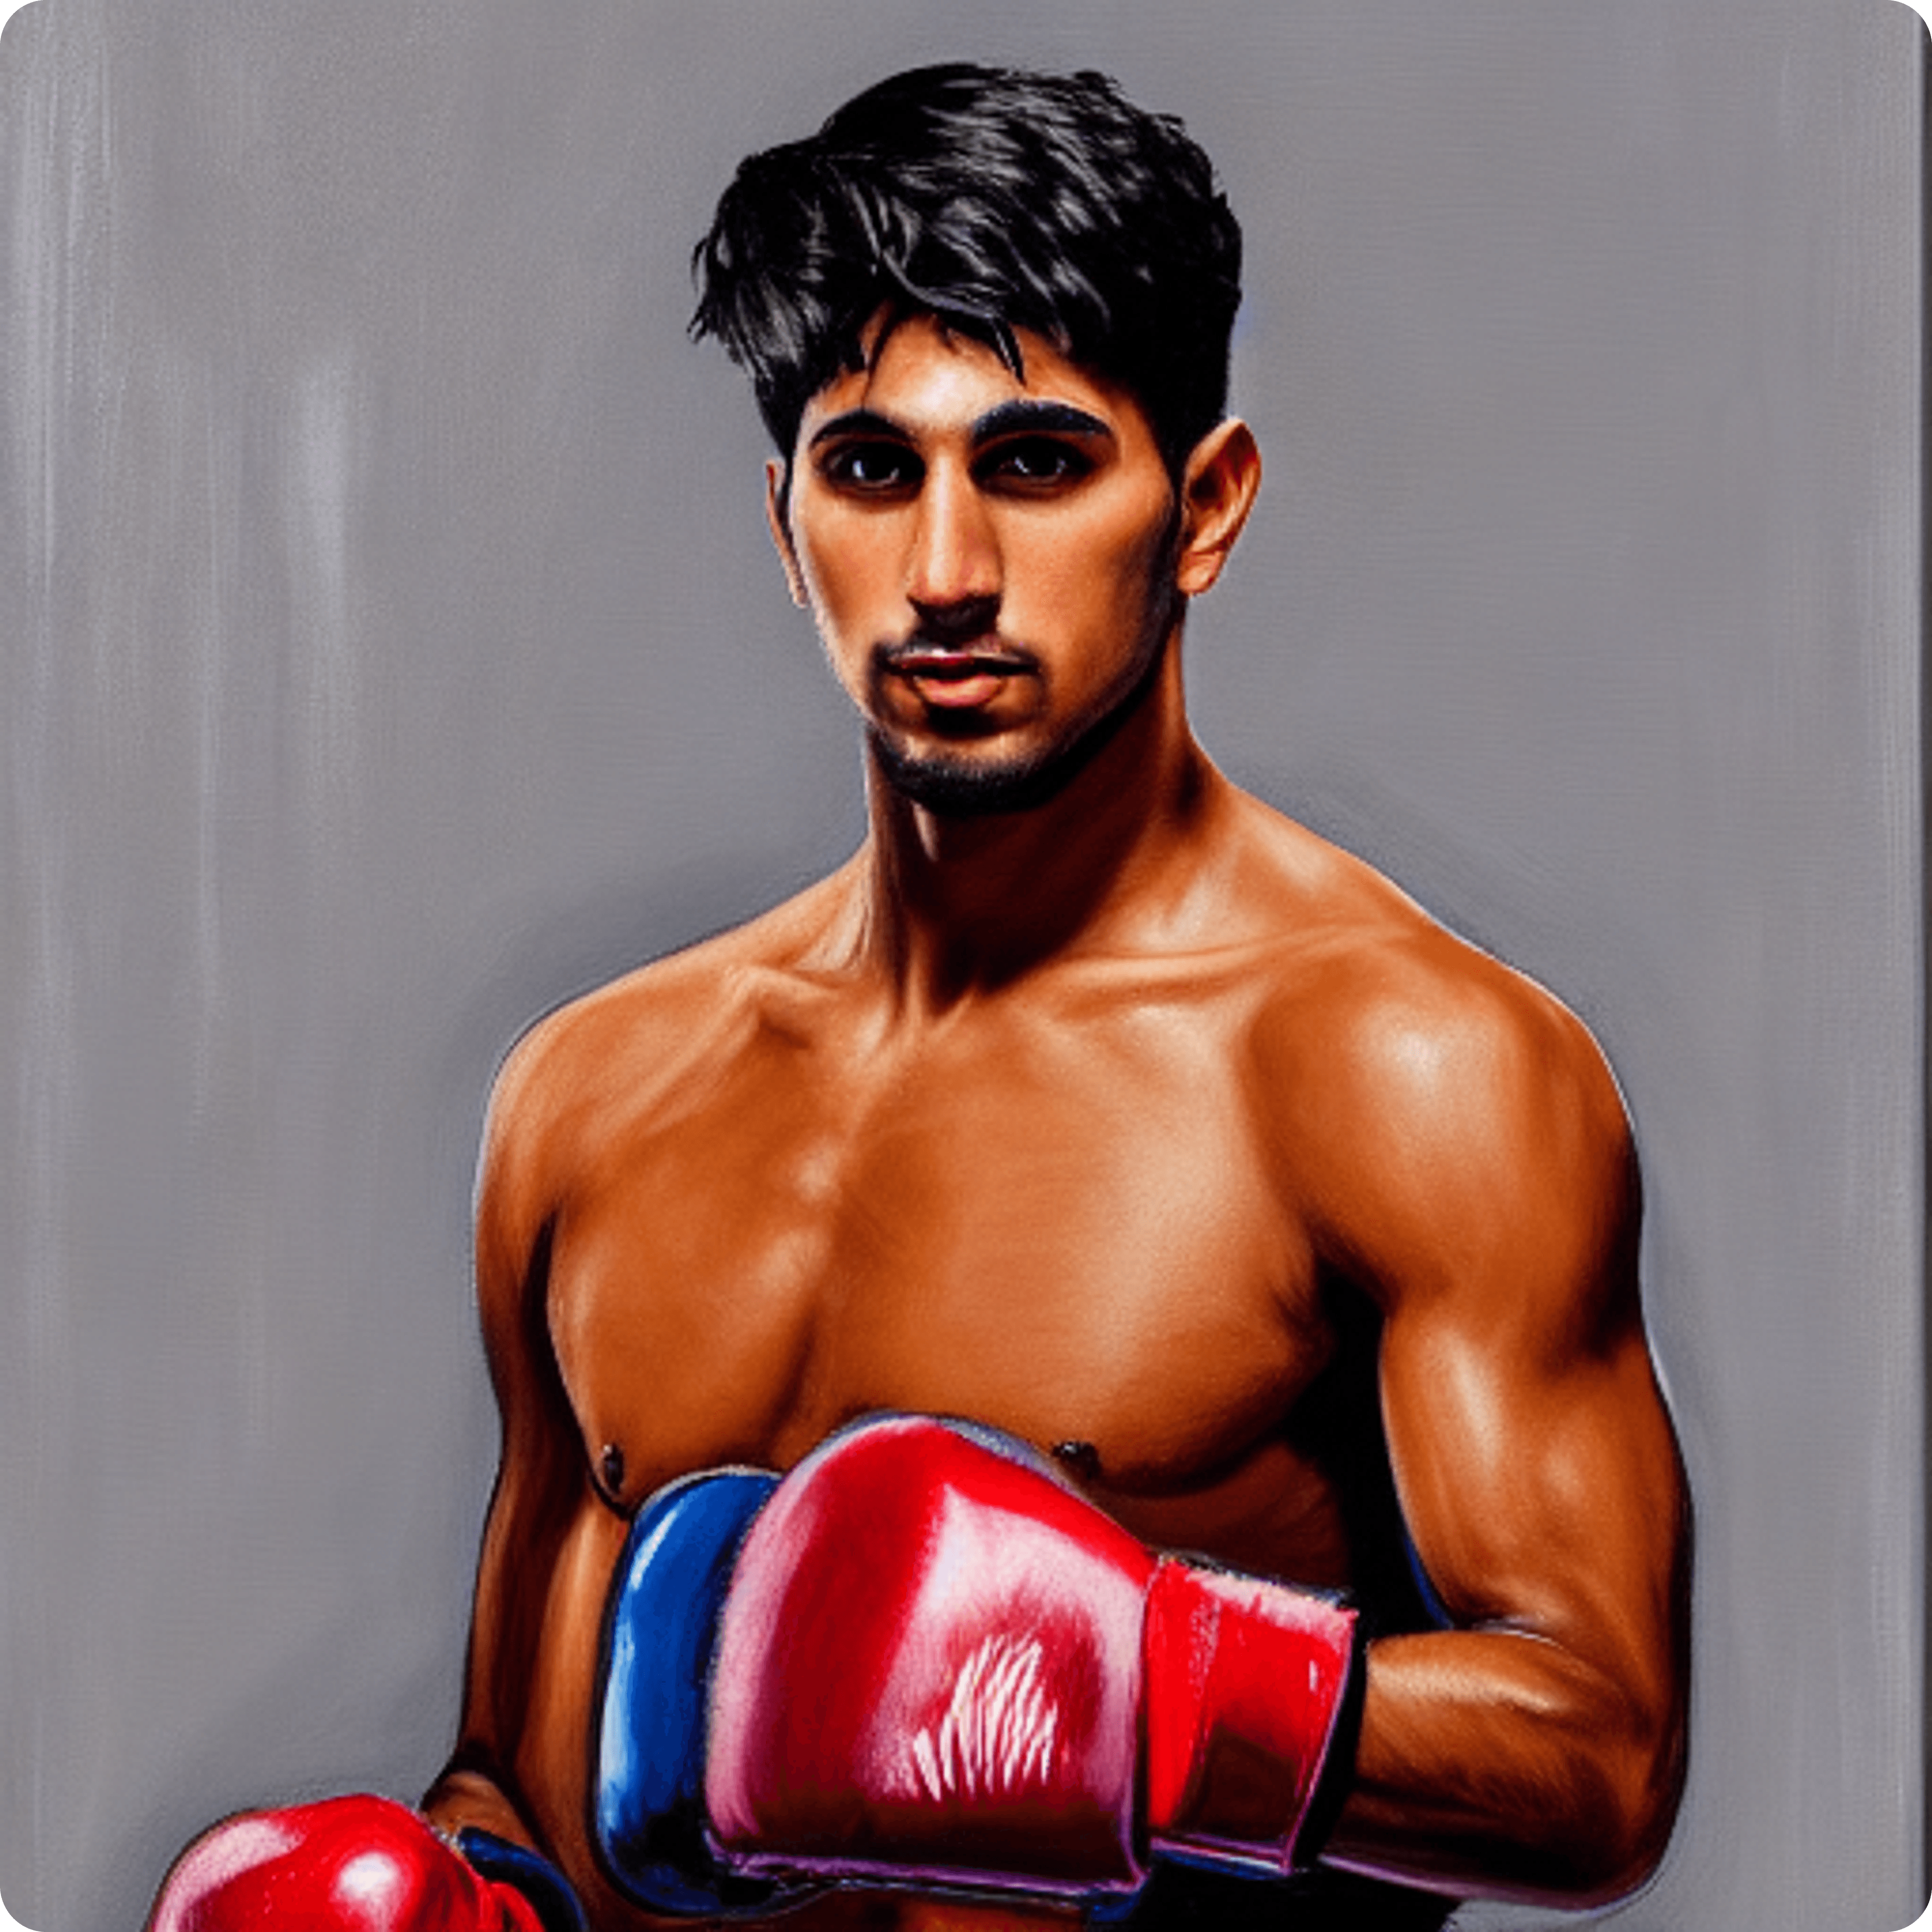
🚨 Make sure include the name that you used when you named your images.
Now, let’s check out a couple of things on the settings for Stable Diffusion.
Usually, I change my settings to about 45- 50 sampling steps and use DDIM as my sampling method.

Sampling steps is the number of steps of iterations Stable Diffusion performs on the image(the more steps the better the images usually).
DDIM is just a type of sampling method.
Play around with it and see how it changes your results! This is really the best way to learn about it.
👀
Show me what you got!
A brief note about writing good prompts.
To get great images we have to make sure that our prompts are also great.
Try out a bunch of prompts and double down on the ones that work. Lexica also has some awesome prompts that you can use to make images
📔 Prompt Engineering 101
Read this note to learn more about prompt engineering.
Time for you to ship your own pfp.
The possibilities are truly endless here. Here are some more examples of the pfps I generated.
I expect to see y’all change your pfp after reading this note!

Hope you had fun, learned a bit and generated some sick pfps!
— Arib

Join the the world's best builders for a 6-week sprint
Come join the best builders from around the world to build wild ideas in web3, ML/AI, gaming, bio-anything. You've got what it takes - all you need to do is apply