
ML/AI
How to setup and run Stable Diffusion on Windows

Sahil
•
Jan 14, 2023
What sets Stable Diffusion vastly apart from other text-to-image models are two things. One, it's open source. Two, you can run it locally on your computer. Welcome to an AI-accessible future.
There are a few things you'll need to have in place first.
Here's the rundown:
Windows 10 or 11 operating system (ofc) with at least 20GB of disk space
A GPU with a minimum of 8 GB VRAM is recommended, although lower amounts may also be compatible
Python 3.9.13 - To install Python, download the installer here and complete the installation steps. Make sure you have added Python’s installed directory to the PATH variable to system variables via Advanced System settings. Alternatively, you can also add the PATH by running this in the command prompt - set path=%path%;<installed directory>
A Hugging Face account
Once you have the above check, let's get started!

Step 1: Downloading the project files
Install the project files from here by downloading the zip file, or clone the repository by running the following command on the git bash terminal:

Your downloaded files will appear as shown above.
Step 2: Downloading the checkpoint file
Download the checkpoint file from this link.

You must be signed in to Hugging Face in order to download the file titled sd-v1-4ckpt.
Hugging Face has a library of pre-trained models that users can fine-tune for their own specific needs. Overall, Hugging Face is a great resource for anyone interested in working with NLP or exploring the capabilities of artificial intelligence in the field of language processing.
Feel free to grab a coffee while you wait for the file to finish downloading, as it’s very large and will take a bit of time.
Once the download is complete, move the downloaded file to the models\Stable-diffusion\ folder and rename it to “model.ckpt”.

Step 3: Running the webUI
To run the model, open the webui-user.bat file and wait for all the dependencies to be installed.

Once all the dependencies are installed, you should see a localhost link which is http://127.0.0.1:7860 in my case.

Copy this link and paste it into your browser. You should see the following webUI upon opening the URL:

Step 4: Generating the images
To generate the images, enter the prompt text for the image in the provided input box and press the "Generate" button.
You can also adjust the resolution of the image by changing the settings, however, beware that increasing the resolution may require more processing power from your graphics card.

Here’s an example prompt you can test:
a cyber warrior in a burnt land, extremely highly detailed futuristic navy seals commando armor, war photography style
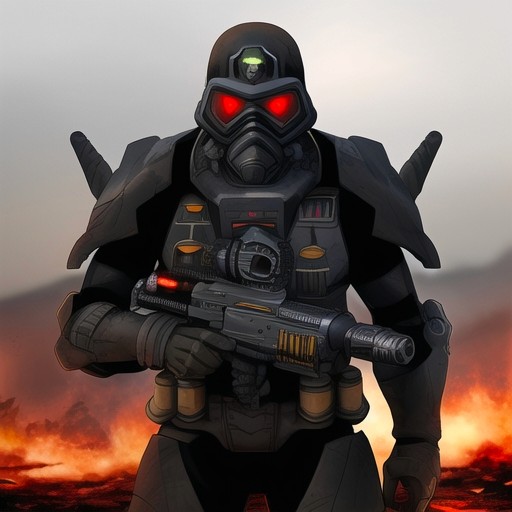
🌋
Share your prompt and images!
Some final tips
If you have a lower GPU and are struggling to get stable diffusion to work, there are a few things you can try as a workaround:
Lower the resolution of your diffusion work. This will require less processing power from your GPU and may help stabilize the work.
Close other programs and background processes that may use your GPU resources.
Right-click the webui-user.bat file, click on the Edit option, copy and paste the below code into the COMMANDLINE_ARGS line, save the file, and try running the batch file again.
-opt-split-attention --precision full --no-half --medvram
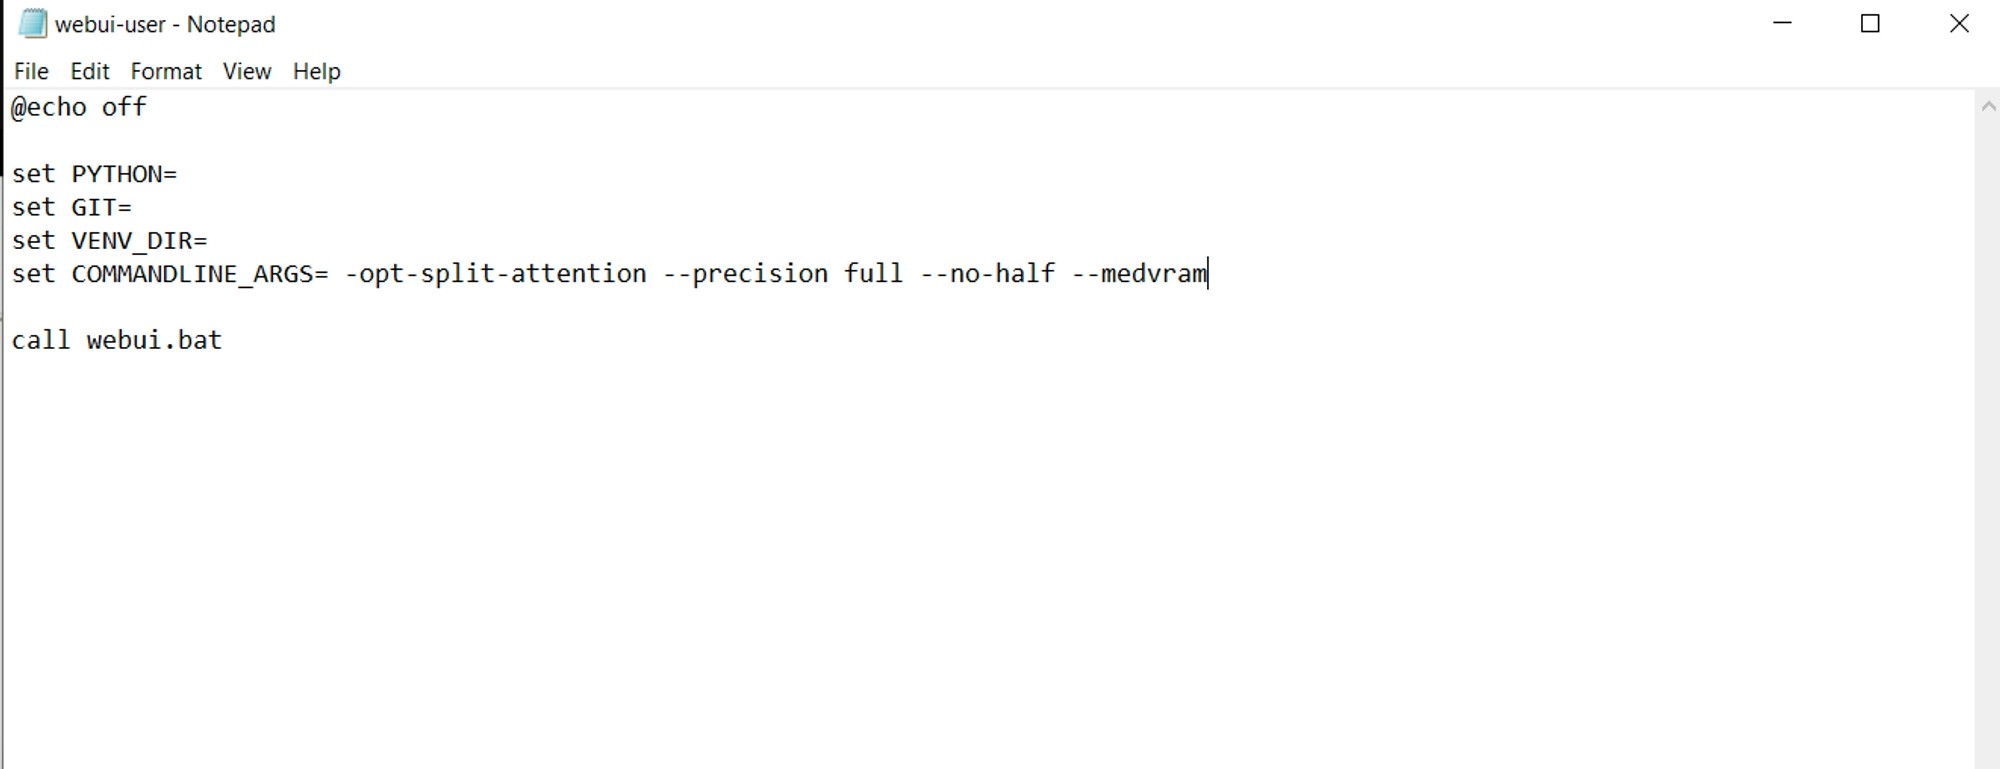
If it still doesn’t work you can try replacing the --medvram in the above code with --lowvram.
To learn more about Stable Diffusion, prompt engineering, or how to generate your own AI avatars, check out these notes:


Enjoy creating some sick SD images!
Well, there you have it folks - a simple guide on how to get stable diffusion working with your Windows machine. If you're still having issues getting it to run on your system, check your drivers, try out other optimized versions of the model, and possibly upgrade your hardware if need be.
With a little bit of troubleshooting and determination, you'll have your diffusion work running like a well-oiled machine in no time. And if all else fails, just throw your computer out the window (kidding, please don't do that!).
Good luck, and peace out!!
Till next time,
– Sahil
